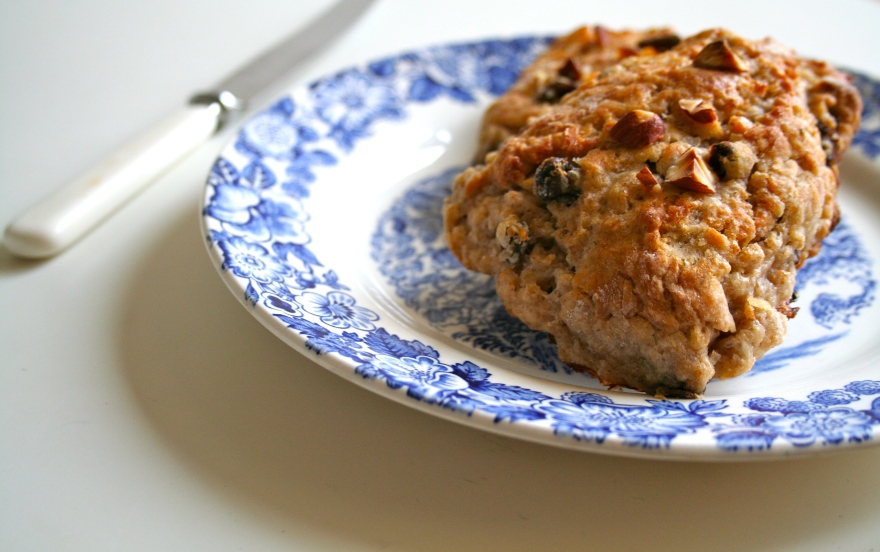
Oatmeal: my favourite breakfast in 4 variations

Ok, this is a little silly. A really long post about oatmeal and recipes on how to make it. But this isn´t so much about following the recipes, more as an inspiration, or a reminder of good oatmeal is for you, how versatile and easy it is to make, and not at least how tasty it can be!
img_1703

I remember being asked what my favourite breakfast was once. If I were to choose whatever I could have, what would it be. And I immediately replied oatmeal – to the person asking´s great surprise. He was like OATMEAL???? “Seriously? Did you understand the question?”

Sure I did! Like many guys, he didn´t share my enthusiasm for oatmeal, because he, like many other, had bad experiences with oatmeal growing up. And he didn´t know how to prepare it either, either turning it into a dry mass, or too watery, almost soupy-like.

So of course, this guy probably wouldn´t prepare it anyway, since his idea of oatmeal was equal to a nastylooking and tasteless thing. Not that it´s rocket science to prepare a bowl of oatmeal, but it almost seems like it, when you can accomplish so much with so little effort! From dull to delish in an instant! You better try. You owe it to yourself to try a decent bowl of oatmeal for breakfast every now and then. And who knows, maybe you´ll be an oatmeal-convert too? I recently convinced my mum, who had a strong resistance against oatmeal due to childhood overdose.

I particularly like oatmeal for breakfast this time of year, when it´s cold outside.  It´s such a comforting breakfast for cold days, warming you up so you´re prepared to leave the house!

I make my oatmeal in many different ways. Or actually, come to think about it, I don´t.  But what I add to the oatmeal depends on what I have or what I´m in the mood for. And the key ingredient, which isn´t an ingredient at all, but a method, is to soak the oats overnight. I find that really makes the oatmeal a lot better. Soaking also make the oats more digestible and help your body to absorb the minerals from the oats. And, it reduces the cooking time – which is always a plus in the morning!

My toppings usually consist of some kind of fruit, some kind of nuts and something creamy: Fruity+Crunchy+Creamy. I always have roasted almonds around, because I simply cannot live without. Fruit/Berries can be whatever´s in season, or whatever you prefer, and nut butter, youghurt, applesauce  can be the creamy component. But these are just suggestions, and my personal preferences,  but of course any toppings and combinations can do!

Classic oatmeal for 1

I guess you don´t really need a recipe for oatmeal, but here´s a single serving of oatmeal ingredients without any add-ins or toppings:

  • 1 dl oatmeal
  • 2 dl milk
  • salt

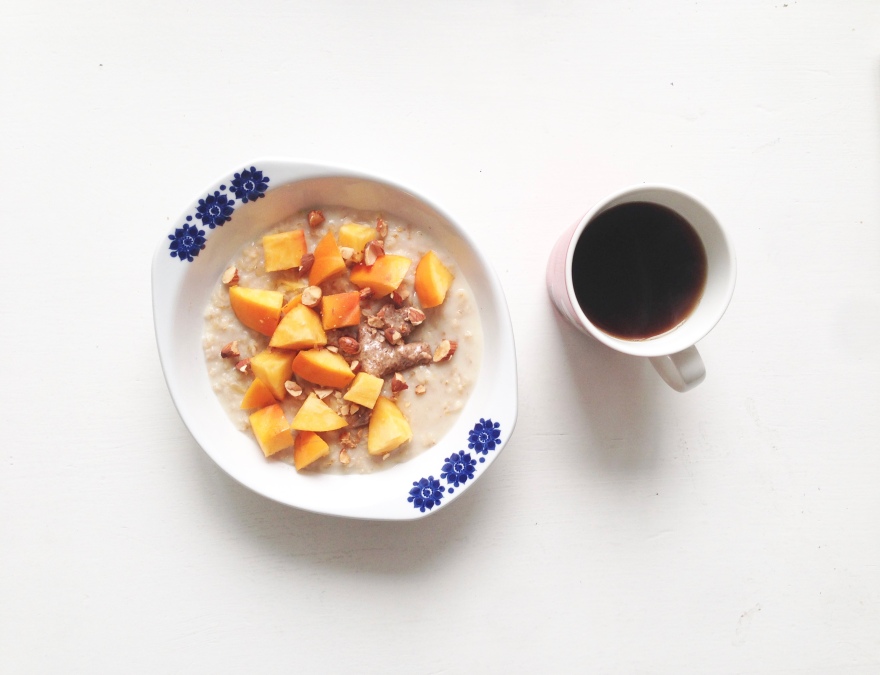
Almondy oatmeal with persimmon (and chocolate chunks)

This is my favorite at the moment. I love persimmon, and now that the season is here, I want as much of it as possible. So I included it in my bowl of breakfast oatmeal, with great success!

img_1708

Toppings: 1/2 small persimmon chopped,  a spoon of almond butter, roasted almonds and/or dark chocolate

Add the oats and milk to a saucepan and allow it to heat for about ten minutes, until the liquid has all been absorbed. Stir in almond butter, and serve with chopped persimmon,  almonds (and/or chocolate)

Coconut-Banana oatmeal with blueberries 

  •  2 dl / 1 cup of water
  •  30 g / 1/3  cup of oats
  • 4 tablespoons of coconut milk
  • 1 tablespoon of almond butter
  • 1 banana

Toppings: fresh blueberries, crushed nuts, raisins and cacao nibs or chocolate

skjermbilde-2016-11-01-kl-11-32-42

Simply add the oats, water, coconut milk and slices of banana to a saucepan and allow it to heat for about ten minutes, until the liquid has all been absorbed. Then stir in the almond butter and coconut oil and let them dissolve into mix. Once it’s all nicely mixed pour it into a bowl, add all your favourite toppings and then it’s ready to enjoy!-berry oatmeal

Banana-berry oatmeal:

Toppings: 1/2 a banana, a handful fresh or frozen red berries of choice and a good scoop of peanut butter

Add the oats, water, milk to a saucepan and allow it to heat for about ten minutes, until the liquid has all been absorbed. Serve with chopped apple and roasted almonds, and a good dollop of dulce de leche with a sprinkle of sea salt on top, giving it a lovely luxury touch.

banan-bringebaer

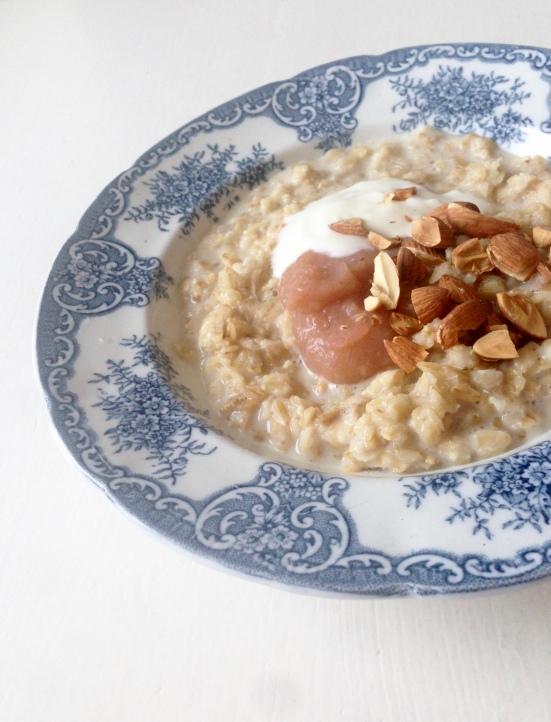
Oatmeal with apple sauce, natural/greek yoghurt and nuts 

This has become another favorite lately, after I made my own very delicious applesauce of the tasty Norwegian apples in season right now. Of course bought applesauce is good too, but if you have access to good flavourful apples, it´s really worth it and easy to make your own.

Add the oats, water, milk to a saucepan and allow it to heat for about ten minutes, until the liquid has all been absorbed. Serve with a tablespoon of applesauce, youghurt and a handful of your favourite nuts or a muesli.
img_1716

Caramelly oatmeal with apple and nuts

Toppings: 1/2 apple diced, 1 spoon dulce de leche and a handfuld of chopped  roasted almonds

Add the oats, water, milk to a saucepan and allow it to heat for about ten minutes, until the liquid has all been absorbed. Serve with chopped apple and roasted almonds, and a good dollop of dulce de leche. I can´t really take credit for this one, but thanks to GRØD who put oatmeal in fashion and popular, this has become one of my (and their) all time favorites.

eplekaramell-closup

My first bread pudding!

IMG_8070

It feels kind of wrong posting this now, on such a sunny spring day when I usually eat light summer food. The smell of cinnamon and baked apples, suddenly put me in an Christmas mood and (almost) longing for autumn! But there´s still a crispness to the air, which means that mornings and evenings are still cold, and best enjoyed with a sweet breakfast or dessert. Enter Bread Pudding!

Bread pudding is something that I´ve stumbled upon several times among my many English/American cookbooks, and certainly it´s been mentioned by Jamie and Nigella more than once when talking about comfort food. And I´ve seen pictures of this dessert-thing over and over, over the years. It always seemed intriguing to me, tempting in a comforting way, but not tempting in the way like chocolate, ice-cream, cheesecake or other desserts can do, so although I understood the concept and idea of this dessert, it never made it to the dessert table in my house, because of strong competition (and a chocoholic boyfriend). It wasn´t until a couple of years ago I finally actually got to try bread pudding, when me and boyfriend were eating out, and the menu was set, so no choices for us and no possibility to not choose bread pudding, if that should have appeared on the dessert menu. Luckily for us, it did, as bread pudding was the dessert on the menu that day and was served to us! Any other way, we would have missed out… We shared a mini loaf of bread pudding, and OMG, it was so extremely good! We scraped the bowl to get everything of the good stuff, and agreed it was the best thing on the menu that evening. Later, I got to thinking of baking this for myself and make my own version. Somehow, years went by, with no bread pudding being made. But a couple of days ago, a picture of bread pudding from my pie-book caught my eye. And a few days earlier I bought a sour dough bread which turned out to have ONE gigantic hole instead of the usually many few, making it difficult to use for spreads or fillings. So, what to do…? I don´t throw food, I get creative!

Croutons? Nah – boring. Plus, I don´t plan on having a salad where it could be used for the next days. French toast? Nah, that wouldn´t look good with that hole. But maybe something french-toast-like, like…. Bread Pudding! Yaaay! That´s what I´m making!

I´m glad I realized that this was an overnight project, because it´s oh so disappointing when your mind (sweet tooth) is set on something, and you don´t get it because “it needs time”. Since this was my first time doing this, i certaintly needed a recipe as a starting point. But since the recipe said 12-15 servings, and I´m only one (one person – though I definetely can take more than one serving…) I needed to adjust the amounts, and adding apple and the topping, I made my own version, and a very good one! The only problem was that I only had a family-sized baking dish, resulting in a not so tall bread pudding. But who cares – It´s my first bread pudding, cut me some slack. And besides, low height with a large surface equals more crispy topping!

Bread Pudding

120 grams sour dough bread

1 egg

50 g sugar

1 dl full cream

1.5 dl milk

1 apple

Topping:

10 g butter

20 g sugar

20 g oats

(Any white bread can be used, but I felt sour dough was perfect as the acidity balances out the sweetness. But if you want to go all in, for more sweetness, feel free to use whatever: toast-bread, brioche or leftover croissants or cinnamon-rolls, if such things exist!)

Instructions

Spray a 20×30 cm (9×13 inch) baking dish with nonstick spray.

Cut or tear the bread in cubes or chunks, and line your dish with one layer of bread cubes.
Cut the apple, and put it in a pan along with cinnamon, water and half the amount of sugar. Stir over medium heat until thickened and bubbly. Cook for 2 minutes, constantly stirring. Remove from heat and spoon the filling onto the bread layer. It doesn’t have to be perfect, Just spread the apples about.Top the apple with another layer of bread and pack tightly.
In a separate bowl, whisk together the egg, cream and vanilla. Whisk until well combined.
Pour mixture over the bread. Cover with foil and let chill in the fridge for at least 8 hours or overnight.When ready to prepare, take bread out of the fridge and let rest on the counte.

Preheat oven to 150 C/ 350F.
Prepare the topping: Mix together butter, sugar, and oats. Spread over the top of the bread. Again, doesn’t have to be perfect.

Bake for 45-60 minutes, or until bread is fully toasted and eggs are set. Let cool for at least 1 hour. Serve warm or at room temperature, with cream, yoghurt or  ice cream if so inclined. Enjoy!

IMG_8074


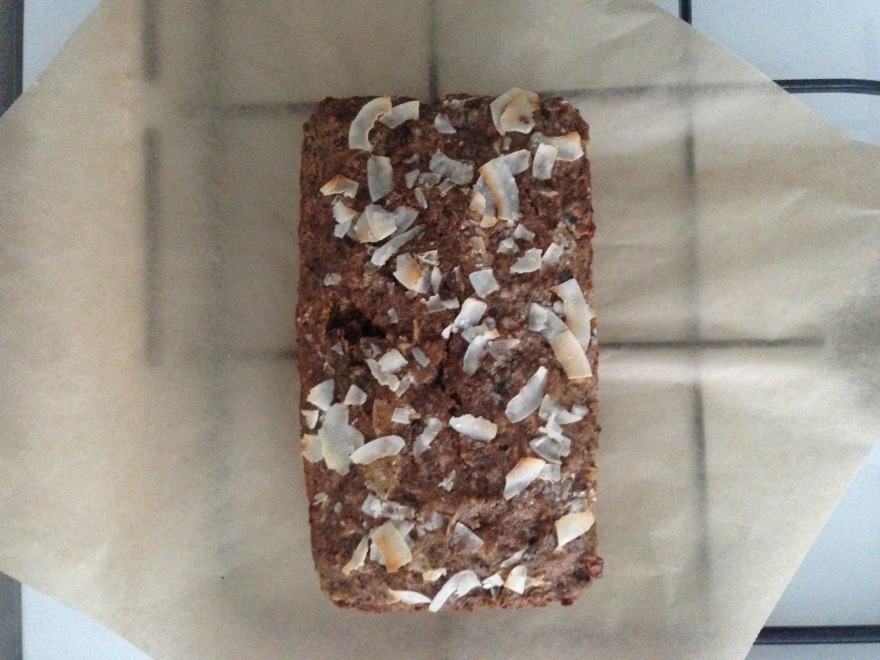
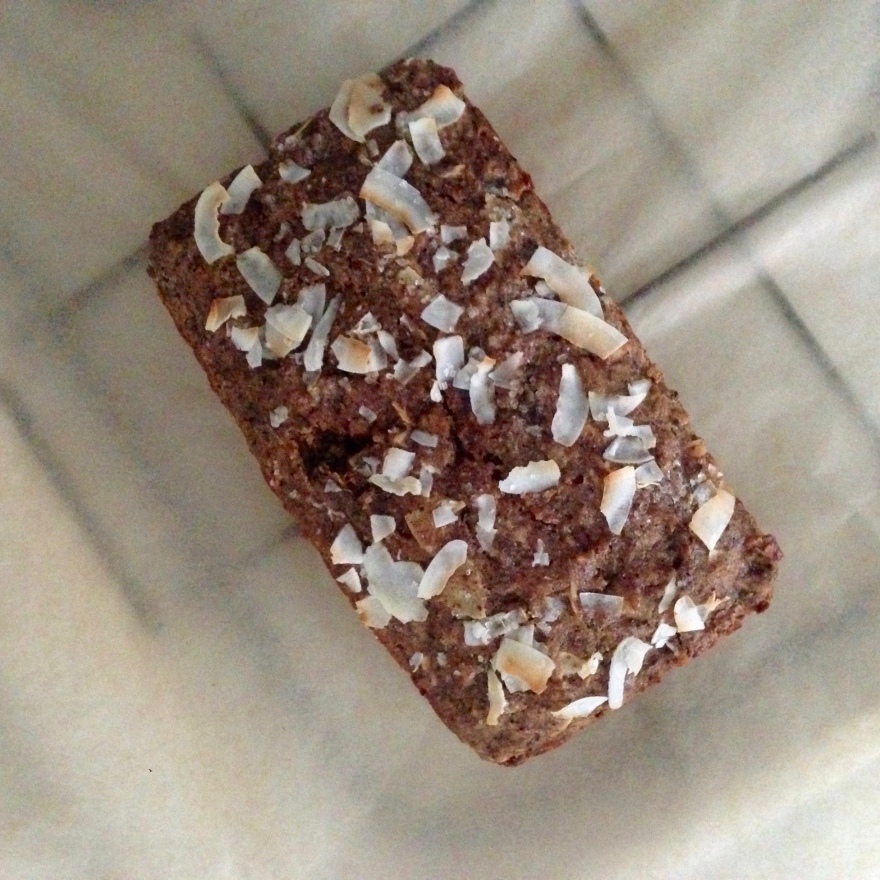
Banana-coconut bread

I love banana bread.

IMG_6359

For various reasons:
1: Bananas
2: It´s called bread, but it´s actually a cake in disguise.
3: You can play around with it and add whatever, and it usually works!

Which means, to sum it up: you can make it as bread-like, or cake-like as you want, use different kinds of flour, wheat, spelt – whole grain or not, adding nuts chocolate or other things, even make it sugar free – and the banana bread can handle it!

IMG_6361

Banana bread is therefore very forgiving to work with, which is perfect for me as I have a hard time following a recipe to the point. I usually end up adapting it, intentionally or not, usually because I don´t have the exact ingredients on hand, and I´m too lazy to go out get it once my mind is set on baking.

This time however, I planned on following the recipe, as I found the pictures and description of the cake very intriguing. As all other recipes on this blog. Check it out! What made this different from other banana breads, was the caramelization of the bananas. Anything caramelized is just… better!
So that would be unchanged, that was for sure.
But somehow I ended up making my own version of the recipe, as I had some almond flour I wanted to use. And I usually try to make cakes more whole grain when I can, as I know I will be the one eating it sooner or later, the same thing about sugar: I often reduce the amount (so I can eat more 😉 and besides, for banana cake, a lot of sugar is usually not needed as the bananas themselves add alot of sweetnesss. Especially if you use brown bananas. The browner – the sweeter – the better!

I had a good amount of frozen brown bananas put aside for this cake, which finally could come togehter on a rainy sunday! I was a litte curious about the result, but even if the cake became somewhat diffrent then the original recipe, I thought it was delicious and a perfect afternoon treat! The banana-coconut flavour was a lovely combination even without the chocolate! I´m sure added chocolate would be lovely too, but without, you could always add some nutella or other chocolate spread if you get the cravings!

I allowed myself a decent slice with butter on top, because there no such thing as butter on freshly baked goods. Next time, I can try chocolate. But the cake on it´s own is perfectly good too! And actually quite healthy, after I twisted the recipe a litte around! Enjoy, one way or another, I´m sure it´ll be delicious either way!

Roasted banana and coconut cake – my way!
(Adapted from this recipe)

Ingredients:
4-5 browned bananas
175 g flour/ 1 1/4 cups –
(I used about 75 g almound flour and all purpose/whole wheat flour)
50 grams/ 1/2 cup all-purpose flour
1 teaspoon baking soda
1/2 teaspoon salt
2 eggs
75 grams/ 1/3 cup loosely packed brown sugar
1 dl/ 1/3 cup canned coconut milk (may swap butter milk or greek yogurt)
1/2 cup coconut oil, melted (or swap canola oil – which I did)
1 teaspoon vanilla extract
50 grams / 1/2 cup toasted coconut flakes (optional)
2 tablespoons unsweetened coconut flakes (optional)

Instructions

Preheat oven to 200 C or 400 degrees F.
Line a baking sheet with parchment paper or a silpat. Peel the bananas and lay them flat on the baking sheet, and sprinkle with sugar. Roast them for 20-25 minutes or until the tops of the bananas are very golden brown and caramelized. Remove from the oven and let cool 5 minutes. Once cool enough to handle, mash the bananas and set aside. Reduce the oven temp to 175 C / 350 degrees F.
Spray a 9×5 loaf pan thoroughly with nonstick spray.

In a small bowl, combine the different flours, baking soda and salt, whisking thoroughly. Set aside.In a large bowl, whisk together eggs and brown sugar until smooth. Add in coconut milk and canola oil, whisking until combined. Stir in mashed bananas and vanilla until mixed. Slowly stir in dry ingredients and mix until just combined. Fold in the toasted coconut. Pour batter into the greased loaf pan and sprinkle with the remaining unsweetened coconut flakes.

Place loaf pan on a baking sheet and set in the oven. Bake for 50-60 minutes, or until center is set. If the top begins to brown, tent the bread with aluminum foil. Remove and let cool for at least 30 minutes before cutting. Bread will keep (covered) for 3-5 days.

IMG_6360

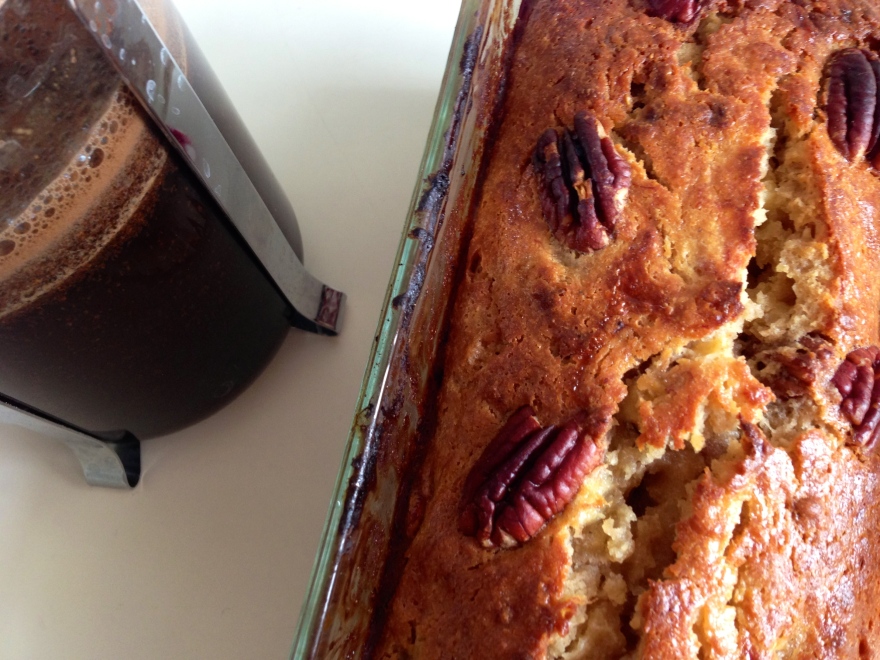
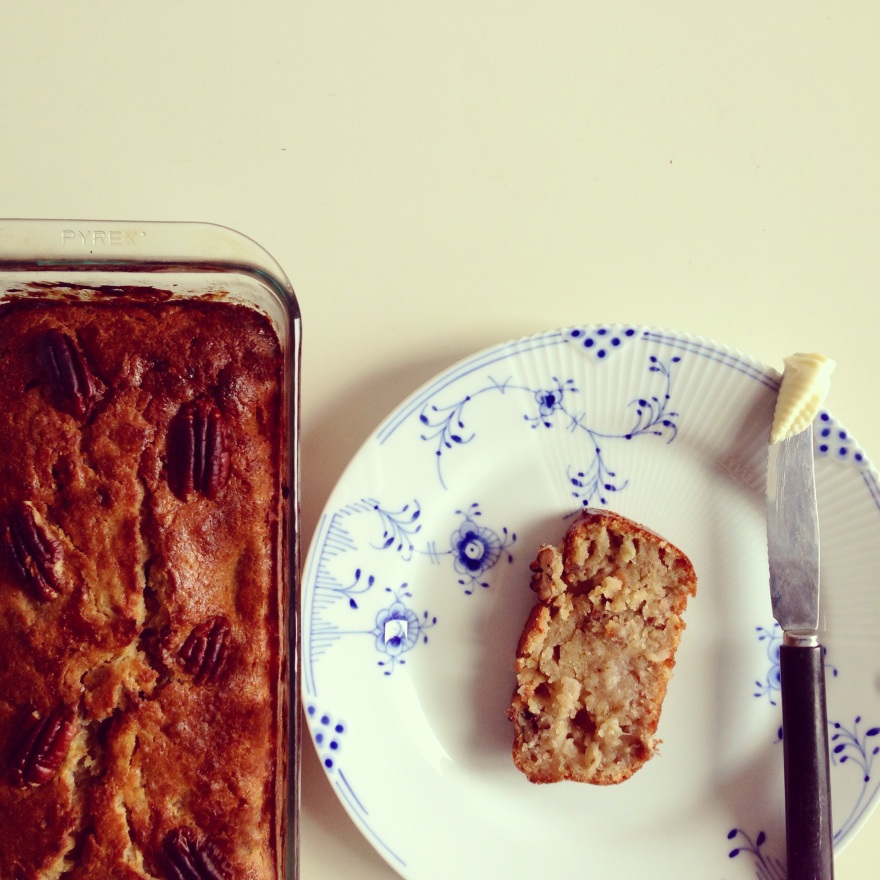
Super moist bananabread with pecans!

IMG_0429

First things first: Is it banana bread? Or is it banana cake? To me, it´s cake. I mean, when I can choose between cake and bread – well, the answer it pretty much given… And another thing, why would one call it bread, by any means? It contains lots of sugar, butter, fruits and no yeast – unlike any bread. But you do, usually, bake it in a bread-like-pan…. So I guess that´s why it´s got it´s bread-name. Anyway, who cares, as long as it tastes like cake! And when you can present it as bread, though in reality it is a cake, everyone´s concience is clean: The baker´s and the eater´s. (Or mine, as it would be called in my case…)

I had some very overripe bananas lying around – and so starts every story of a banana bread. (cake)
Actually, I had kind of let them overripe on purpose, so I could have an excuse to bake with them! But only partly…My mother bought all kinds of food, and pretty much filled my fridge and freezer before she left, so it was inevitable that something would – not go to waste – but, end up in baked goods. Maybe that was her plan all along. Ahh, she knows me too well!

So, Sunday came, the bananas were brown as ever, and I had cake-cravings! Off to the bookshelf to find a nice recipe. I do have a couple of winner banana-bread recipes, that are just amazingly good, but I´m kind of in this getting-to-use-my-cookbooks-flow for the moment, so I grabbed three candidates and started the search. I almost turned to Dorie, again, but then it would be a bundt, and not a loaf. I wanted a loaf. And I feel with her, I shouldn´t change the recipe too much, I have a feeling it´s best to leave it to her. And I wanted to use some yoghurt and nuts, cause that´s good stuff in a banana bread. So, finally, I picked the banana pecan bread, from Leila Lindholm´s Piece of Cake. The picture of that bread was one of the first things that got stuck on my mind from that book, along came many other things… And one of the reasons I got the book! Besides, it´s so pretty! But, I haven´t really baked anything from it yet besides a bread, so it was about time I started the serious business – on to the cakes!

I adapted the recipe slightly, substituting some of the butter with yoghurt, powdered sugar with sugar, and some of the flour with whole wheat, but the original recipe goes like this. And I only had 3 bananas… But I don´t have the measurements I used, so I present to you the original recipe!

Pecan-banana bread

150 g butter
1 dl sugar
2 dl powdered sugar
4 ripe bananas
2 eggs
3 dl flour
1 ts baking powder
pinch of salt
75 g pecan nuts

Stir the sugars and butter light and creamy.
Mash the bananas (keeping a few chunks if you like – I know I do!) and stir them into the batter. Add the eggs. Mix the dry ingredients and pecans, and gently fold them into the batter. Pour into a buttered loaf-pan, and bake the cake for about 30 minutes in the center of the oven. (Mine needed longer) A toothpick inserted in the center of the cake should come out clean. Allow to slightly cool, and dig in!

This cake can be served pretty much any way you like: Warm or cold, with our without butter, nutella, ice cream….you get the picture. I thought it was really good straight from the oven, warm and nice, so that the butter I added just melted into the cake. But on the other hand, it´s also really good the second, or third day, when it has had time to set – then you really get the moistness of this cake… Yummy either way!

IMG_0442

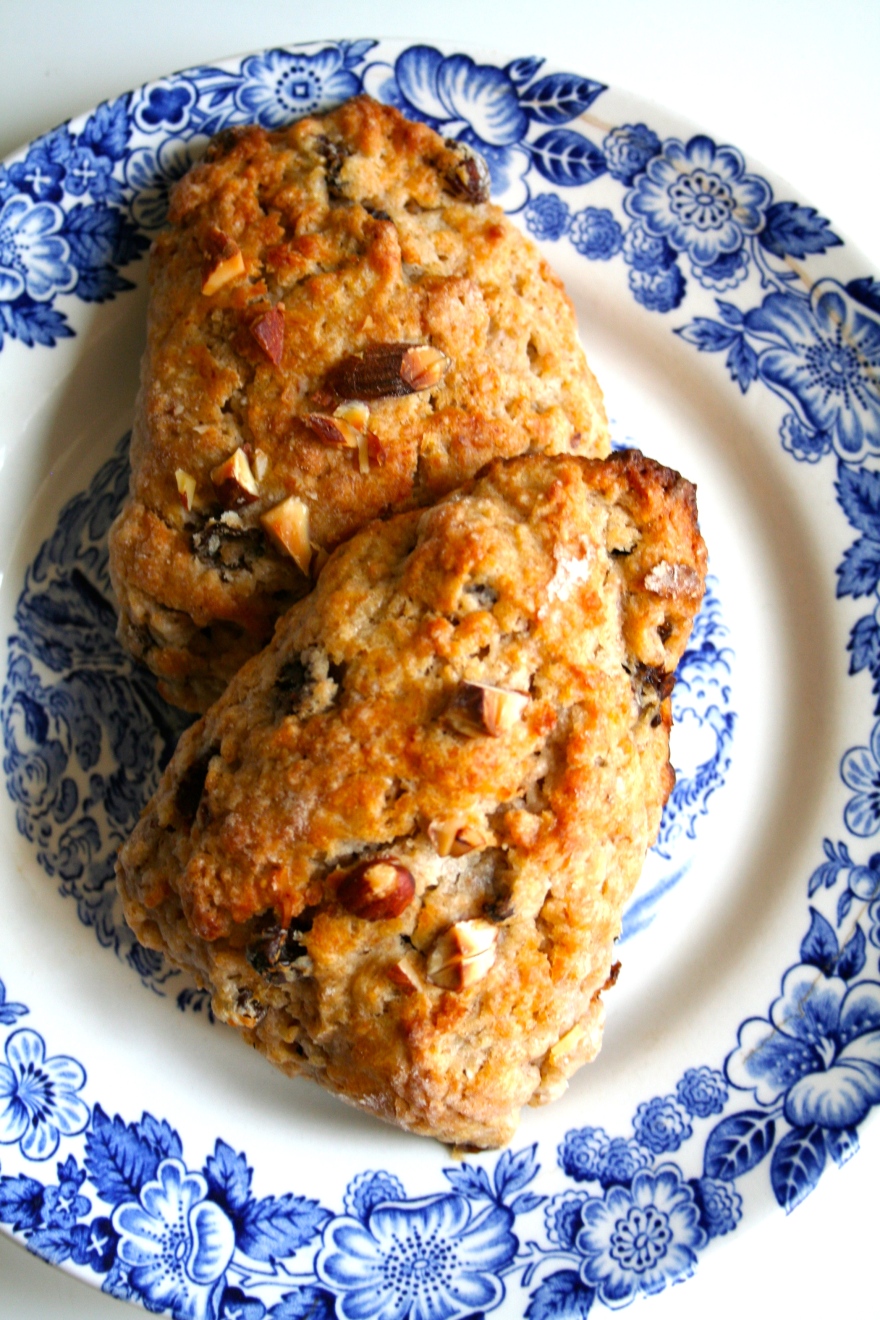
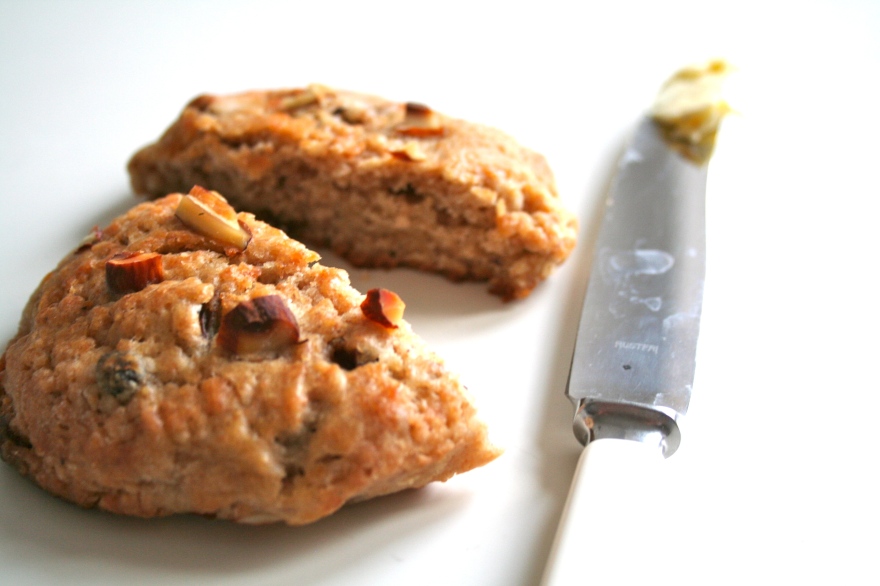
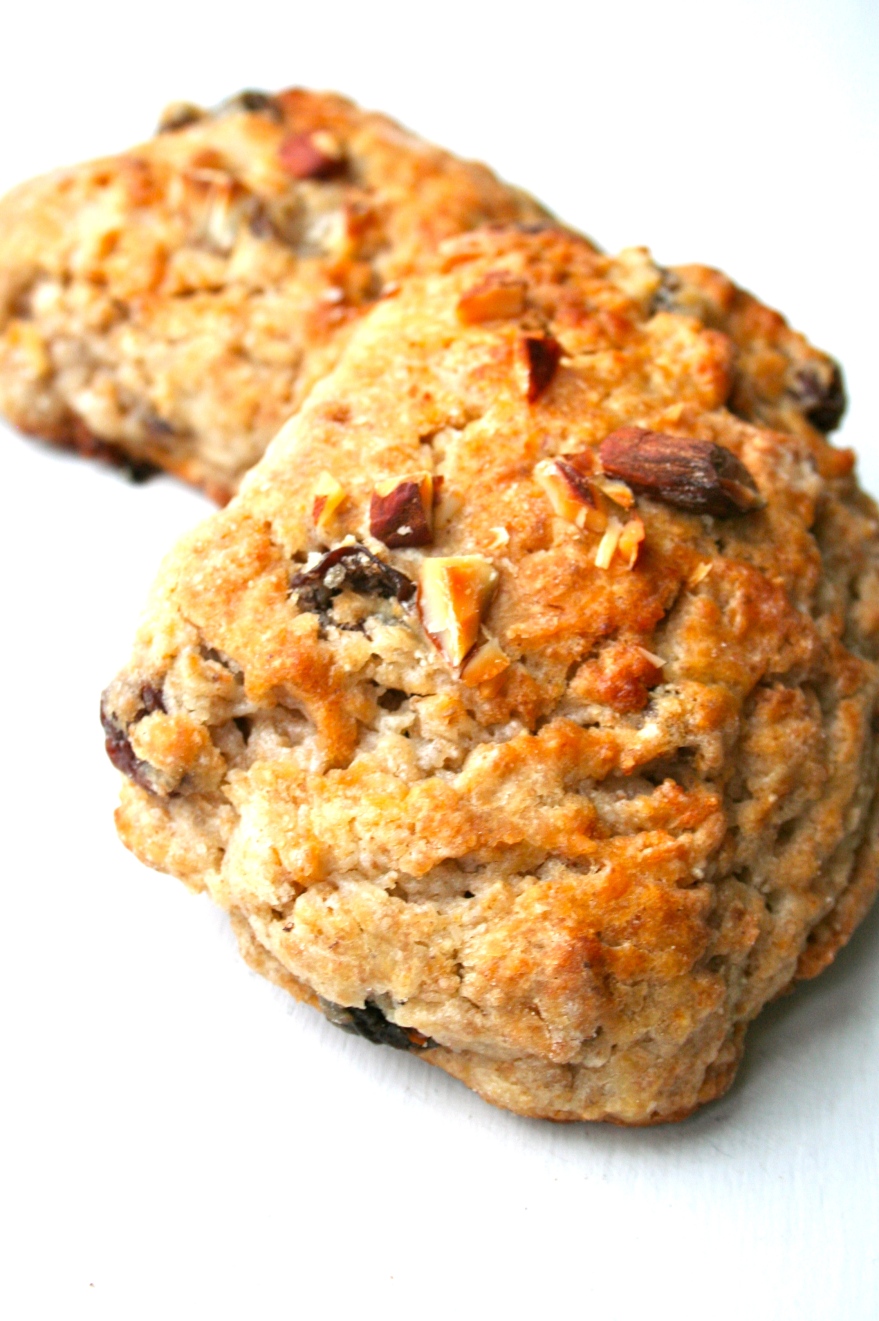
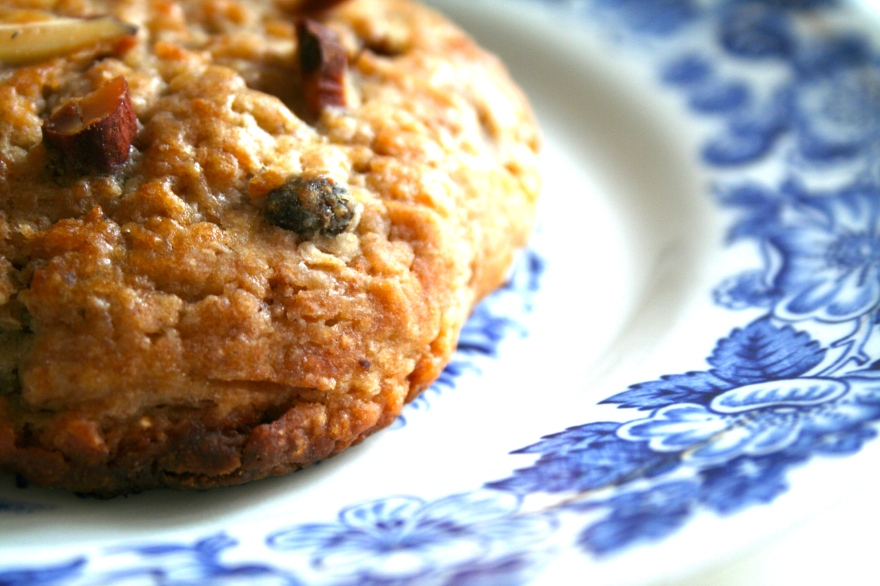
Whole grain scones with raisins & walnuts

IMG_8496

IMG_8507

Scones! Gotta love´em! I know I do. I´ve said it before, and I´ll say it again: I love scones! I´m not afraid to admit it. It´s a fact, it´s a thing I can´t deny, like the fact that I will love them till I die… Ok – you get the picture.

Why this love of scones you say?
Well first of all – they taste amazing, but secondly, and maybe most importantly, you can start baking and get to the eating-part within 30 minutes! Unlike their yeasty relatives… And may I add that there´s absolutely no kneading involved! Only slight stirring, and even barely so. Which means you don´t have to wait for the dough to rise or to evolve to another stage, which again means there´s no disappointments when your dough doesn´t behave like it´t supposed to. No, no. None of that. Scones are grateful little creatures. At least compared to their yeasty cousins, which seem to live a life of their own. And that can be interesting at times, but other times, you want to be in charge, you want to be the master in your own kitchen. And then, my friend – scones are your friends.

And, like many other things I guess, you can play around with them, mixing them up with different kinds of flour or addings to suit your liking that day. You can go all in with full cream, butter and sugar and chocolate, or you can add berries or fruits for freshness, or you can substitute some of the ingredients to make a sweet, yet slightly healtiher scone. That´s what I intended to today. Sweet – yes. Always sweet to suit my sweet tooth, but also trying to make them a little less fatty and sugary, so that I can gobble on more of them, and eat them like a sweet substitute for bread.

IMG_8499

IMG_8503

Like I may have mentioned before, I´m on an everlasting search for a scone recipe that will resemble, or ideally copy – (but I don´t aim that high any longer) – the scones from my time working at the Lie Nielsen bakery. And judging by the photos, and list of ingredients, these seemed to be fitting.´ve actually made these once before, but that was a long time ago. I couldn´t really remember how they turned out last time – so it was time to make them again! It was my turn to bring baked goods to my sweet-loving health-concernded classmates this week, and what opportunity could be more appropriate? The recipe is from a book from the Norwegian bakeri Åpent Bakeri. I don´t really know the bakery, since it´s based in Oslo, but from what I´ve heard, it´s one of the best. And their scones are no exeption… And neither are mine – if I dare say so!

Scones (adapted from Åpent Bakeri)
– yield 8 decent sized scones

115 g sugar
100 g butter
1 dl buttermilk or greek yoghurt
2,5 dl milk
375 g flour (I used about 200 g wheat, and 175 whole grain – a mix of spelt/rye flour)
25 g baking powder
50 g walnuts
75 g raisins

The day before baking, soak the raisins.
(Or at least for a couple of hours – if your scones-cravings are urgent!)
Drain the raisins, then set them aside on a paper towel to soak up any external moisture.

In a large mixing bowl, beat together butter, yoghurt and sugar. Add the (sifted) flour and baking powder mix in stages, then knead lightly till it is smooth and elastic in texture. Slowly add the milk while beating, and stir the mixture till it is smooth and lump-free (don’t worry if it appears curdled, mine did and my scones still turned out beautifully!) Carefully stir in the soaked raisins and walnuts, then shape the dough into a ball. (Be careful not to over-stir! The less you do the better – You just want the dough to hold together and be somewhat lumpfree) If the dough turns very wet, add a little more flour.

Place on a lightly floured surface and pat into a 7- to 8-inch circle about 3/4-inch thick. Sprinkle withe chopped almonds. Use a sharp knife to cut into 8 triangles. I like to pull them apart too, just to make sure they bake more evenly. Place on a cookie sheet (preferably lined with parchment paper), about 1 inch apart. Bake until golden, about 15 to 17 minutes. Cool for 5 minutes and serve warm or at room temperature with butter. Simple as that! And that´s why I love scones!

IMG_8491

Cottage cheese-apple-pancakes

Pancakes are back! Well, where they ever really out? Nahhh, not really. Just took a break after a pancake overdose some time ago. And ironically enough, a holiday in the US, consuming a lot of breakfast-pancakes, was what made me want more! I had a lot of pancakes over there… When I´m in the states (sounds as if I go there regularly – but frankly, this is just my second visit! But I´ll be back, for sure! Love it!) I try to eat as american as possible, and by american I mean all the classic american stuff. And of course local specialites. Well, I try to do this whereever I go. When in Rome, right? (And when I actually was in Rome this summer, I indulged in risotto, pizzas, gelato….need I say more? But that´s another story!) So – I was in the states, and breakfast was not included in our hotel, so we went out for breakfast each day. And pancakes were always appealing to me – speaking to me – choose me, choose me! So I did. Over and over again. By the end of our holiday, I´ve had my decent pancake-share- Some really great, some mediocre pancakes, but most importantly, I remembered how tasty a pancake-breakfast can be. So, one week later, my jetlag was more or less gone, it was weekend, and my pancake cravings began. I gave in. Though, not the typical american classic kind. I tried to make them a little healthier, non-US-style! (But then again, I´m no longer in America, but in healthy whole-grain scandinavia, surrounded by health-freaks from my study. So I adapt, once again!) I bought some cottage cheese for some reason (I never eat it) and decided to use some of it for pancakes. Since I didn´t have blueberries or bananas and was to lazy to get out, and I was beginning to get a cold as a result from 10 days in Miami, and then back to cold Denmark, I had to make them without fruit or use what I had. I had half an apple, and decided to use that. Grated it into the batter. And then I was ready to make some pancakes! They turned out really moist because of the apple and cottage cheese, though the texture was a little different then the usual pancake. I also made them whole grain to make them a little healthier. And then I drenched them in butter and syrup….. Next time, I think I´ll go for the real thing though! But as a less-guilt-free pancake this is really good! And moist!
After a little research online, I had a certain idea of a recipe, and mine went something like this:

Cottage cheese-apple pancakes (about 10)

1/2 cup cottage cheese
1 egg
1 tsp vanilla extract
1 tbsp syrup (I used agave, but maple or honey will do!)
½ cup all purpose flour
¼ cup whole wheat flour
1 tsp baking powder
Butter/oil for frying.

Puree the cottage cheese and eggs in a food processor for about 30 seconds. Add in the dry ingredients, then and pulse just until combined, and stir in the grated apple.

Preheat a griddle, skillet, or any flat bottomed pan on medium/low heat.

*The pancakes need to be cooked on a lower heat for a little longer than normal pancakes.

Add some butter to the pan if you’re pan isn’t non stick. If it is, you probably won’t need any addition butter to prevent sticking. Scoop the pancakes onto the preheated griddle and use the back of the scoop to spread the pancakes a bit. Cook for about 4 minutes per side.

*The outside of the pancakes will be a deep golden brown when they’re done, not a light golden brown. Serve with syrup and butter, bananas, berries or whatever you fancy!

No knead bread – in a pot!

Making bread has never been easier! Or better! (Because when is easy not better, really?) Bread is not what it used to be. It´s still delicious, warm from the oven with butter melting into it, and a nice crust that holds it together. That hasn´t changed. What has changed, is the making of the bread. If I only knew what I know now… That all that kneading – is not really necessary! I was taught that when making bread, the most important thing is to knead the dough, for a loooong time. And several times. If you didn´t do that, the bread wouldn´t rise, it´d turn into a compact brick-like-bread-wannebe, and without the light fluffy texture you want from a good bread. So, that was the rule! Knead like crazy!

Still, I must admit, I didn´t always have the patience (or muscle strength for that matter…) to do that. I kneaded for some time, but never as long as the recipe demanded. Maybe I could have if I had, like, a pink or turquoise Kitchen Aid…? (Ahem….someone´s birthday is coming up soon…) And do I need that now that I don´t knead anymore! I do… It has other qualities! Besides, it´s pretty! Anyways, back to the bread. I know the no-knead-thing is kind of yesterday´s news around blogland, or any land, I guess. Even this particular kind is to be found on various blogs and sites around the internet, but to me, it was new! This is my first attempt at baking bread in anything else but a bread-pan. You see. The thing is. You bake the bread in a pot! Yup – that´s right! And doing that you get a crackly crust and a moist and fluffy inside – aka – yummy bread!

The simple method involves mixing all of the ingredients, letting the dough rise for a rather flexible stretch of time (8-20 hours-ish), and baking it at a really high heat after some minimal shaping and some extra rising time in a preheated dutch oven. The steam trapped by the pot’s lid contributes to a crispy, chewy crust, while an extremely hot pot assures a high and fast rising.

And the result: A perfectly symmetric round, beautiful tasty bread!
Looks good, and tastes good. And it´s dead easy! (And no kneading involved!)


No knead bread (1 bread)

250 g wheat flour
175 g spelt flour
3,5 dl water
0,5 ts dry yeast
2 teaspoons salt

1: Mix everything together in a big bowl, using a wooden spoon. There´s no need to get your stand mixer out, but if you want to, go ahead using the paddle attachment. When everything´s throughly mixed, and there are no lumps, cover with plastic wrap and let sit 12-20 hours in room temperature.

2: Shape & preheat: The dough will now be wet, sticky and bubbly. With a wet spatula, dump the dough on a floured surface. Fold ends of dough over a few times with the spatula and nudge it into a ball shape. You can use your hands if you like, just keep your hands wet so that the dough does not stick. Transfer to a bowl, and let it nap for 2 hours. When you’ve got about a half hour left, slip your covered pot into the oven and preheat to 200C/ 450F.

3. Bake: Your dough should have doubled in size. (Mine didn´t though…but it did increase!) Remove pot from oven. Carefully transfer the dough into the hot pot, making sure not to puncture it too much. It doesn’t matter which way it lands, though. Shake to even dough out. Cover. Bake 30 minutes. Uncover – aka remove the lid – and bake another 15-20 minutes or until the crust is beautifully golden. Remove and let cool on wired rack.

4: Enjoy! (Like most breads, it´s best eaten within a couple of days.)


Blueberry scones

It´s easter!
That means I´m home back in Bergen, I have some time to kill while everyone´s at work, and later I have some more time because of the holidays which is perfect for some staying in-activities, such as baking. And, I have people to feed, plus room in the freezer for whatever leftovers there might be! Oh, the opportunities! And not to mention, I have a lot of stuff, like berries, in the freezer, so I don´t have to get out buying overpriced supermarket-berries. Or getting wet. And like I said, it´s easter, which means some easter-treats has to be made. Only in case the easter bunny doesn´t show up, of course.

Today is a perfect day for baking. The rain is pouring down, the shops are closed, and although my boyfriend was supposed to start his holidays today, he had to arrange a quick meeting in a café. How rude! Taking clients to cafés instead of me – on our holiday! Well, there´s only one thing to do. If I can´t come to the café, the café must come to me. Which is actually a better option in this weather. Now I only had to choose a café-like snack. Like always I´ve done some baking-research before I got home. The list of recipes to try, I´ve realised is a never-ending project, as people like myself keep adding tempting recipes, and I keep both buying and borrowing cookbooks. I don´t make it easy for myself. So many recipes, so little time! And the fact that I´m on a daily search for recipes – without any other reason than just for the sake of it – well, I better get baking!

Starting with this scone recipe. These scones immediately made it to the top of my baking list, pushing down brownies, pound cake and other things that have been lined up for quite some time – poor things. But sometimes, you see a picture of something so appealing, you can´t get your mind around anything else, and there´s only one thing to do. Bake it. Get it out of the system. See if they taste as good as they looked at the picture. And of course, compare yours to the original. Uglier, prettier? It´s usually the first. But these turned out quite decent, if I may say so.

Taste wise – well, I don´t have anything to compare with, but I thought they were pretty darn good! The recipe calls for partly whole wheat flour, which I substituted for rye flour. (That´s what I had) That made them more filling and hearty, without feeling overly “healthified”. They´re still sweet and moist, but just perfectly balanced. You could easily have these for breakfast – or any other time of the day!
I enjoyed mine fresh from the oven with a cup of tea for a late lunch. I couldn´t resist adding some butter (can I ever?) – butter melting into warm baked goods – seriously, how can anyone resist?
Even so, they are flavourful enough on their own, so they don´t necessarily need anything. But I imagine a dollop of whipped cream wouldn´t hurt either. So you can dress it up or down, and serve it as breakfast, afternoon snack or dessert! Or all of the above. Go crazy!


Berry Almond Scones
(slightly adapted from thevintagemixer)

1 stick (8 tbsp)butter, cold, plus 1 Tb melted
1 cup frozen blueberries
1/4 cup sliced almonds
½ cup milk
½ cup Greek yogurt
1 cup all-purpose flour, plus more for dusting the work surface
1 cup whole wheat/rye pastry flour
½ cup sugar, plus extra for sprinkling
2 tsp. baking powder
¼ tsp. baking soda
½ tsp. salt

Instructions

Yields 8 generous blues-killing scones
Adjust an oven rack to middle position and preheat to 220 C/ 425˚ F.
Grate the frozen butter on the holes of a large box grater.
Whisk together the milk and Greek yogurt in a medium bowl; refrigerate until needed. In another bowl, combine the flour, ½ cup sugar, baking powder, baking soda, salt and almonds in a medium mixing bowl. Whisk to combine. Add the grated butter to the flour mixture and toss with fingers until thoroughly coated.

Add the milk-yogurt mixture to the dry ingredients and fold with a spatula just until combined. Transfer the dough to a generously floured work surface. Dust the top of the dough with flour, and knead with well floured hands, 6-8 times. Add small amounts of flour as needed to prevent sticking.
Roll the dough into a 12-inch square.

Sprinkle the berries evenly over the surface of the dough, and gently press down so that they are slightly embedded in the dough surface. Fold up the edges of the dough up so that all of the berries are concealed inside the dough. The dough should resemble a ball. Flatten the dough and gently form into a circle (about 7 inches by 7 inches). Using a sharp, floured knife, or a sharp dough scraper/chopper cut the circle into 8 equal triangles (like pie wedges). Transfer to a parchment lined baking sheet. Brush the tops of the scones with melted butter and sprinkle lightly with sugar or more sliced almonds. Bake until the tops and bottoms are golden brown, 18-25 minutes. Transfer to a wire rack and let cool at 10 minutes before serving. If you can wait that long!

Nutella rolls


So – finally my family pack of nutella was put to use! Or some of it, at least. That thing is huge! Like I may have mentioned earlier, I have a thing for big food, or food that come in large sizes or packages. I´m drawn to anything supersize when it comes to food. I´m just fascinated by food that goes beyond the usual or ordinary sizes, whether it´s nutella, apples, cinnamon rolls or pepper grinders. Don´t judge me!

This time, it´s about nutella. Once I saw that jar of 1-kg nutella, I knew it was coming home with me. And by US standards, 1 kg probably isn´t all that, but here it is. I´d never seen anything like it! So to me, 1 kg is a-lot, especially considered that I normally don´t buy or eat nutella. So I really didn´t know why I bought it or what to do with it, but I had to have it. Some girls shop for shoes, I shop spreadings. So I got it home and put it away. I googled for recipes, and decided that nutella rolls would be a good way to start. But somehow, I never got around to it. After some time I had to move it from my kitchen into my little pantry of things I seldom use. Probably a bad idea, cause you know, out of sight, out of mind. I would have kept it in my kitchen as a reminder to use that freakin thing, but due to extremely limited storage possibilites in the kitchen, priorities had to be made. But now, finally, the time has come to nutella rolls. We´re going on a foodexpo with my class tomorrow, and I´m bringing these for the 3-hour busdrive. To spread some nutella-joy! Maybe not the most transportable baked goods there is, though. So the verdict: What can I say? They were worth waiting for! Oh my… Sticky, gooey sweet hazelnut bliss!
And if you top it off with some roasted hazelnuts, and some extra nutella (just to glue the hazelnuts, of course) – well, that´s as good as nutella gets! Try it!

Nutella rolls (25-30 rolls)

1 kg all purpose flour
200 g sugar
200 g butter
6 dl milk
12 g dry yeast (50 g fresh yeast)
1 ts baking powder
1 ts cardamom

Melt the butter.
Add the milk and warm it up until it´s lukewarm.
If you´re using fresh yeast, dissolve it in the warm mixture. Set aside.

Mix together the flour with sugar, cardamom, baking powder and eventually dry yeast. Pour the butter-milk mixture into the the dry ingredients, and incorporate. Add more flour if necessary. Once evenly mixed knead the dough in a floured board. Form into a large ball then place in a bowl covered in cling wrap. Place in a warm place and let it rise for 1 hour or until it doubled in size.

Remove the dough from the bowl, deflate and roll into a floured surface. Thickness about 1/2 cm or so, but that depends on how you like the dough vs filling ratio. I like it 1:1 more or less. There must under no circumstances be short on the filling, that´s for sure! Spread on nutella, as much as you like, and get rolling! Cut them into suitable sizes, using a knife or dental floss. (This is a very loose recipe, I´m starting to see…) Mine were about 4 cm in height and 8 cm diameter. Place them tightly if you don´t want edges, or seperately if you do! Bake for about 15 minutes, or until they are golden and irresistible!

And – voilá! It´s served! I do recommend roasting some hazelnuts to go with it. That extra crunch in combination with the soft melting nutella bun is just divine…

Carrot spice muffins

We´re having a group project at school for the moment. It´s not really hard. There´s really not a lot to do. It´s not very time consuming. We just have to get together, from time to time, to figure out what to do next and to plan and divide the tasks between us. Quite frankly, I feel like I´m having a vacation, because there are so little to do, so few lectures, and the ones we have finish before noon, so there´s a lot of time waiting to be filled! It´s not like I have a job, a specific hobby or workout schedule, so what else to do than bake! Wait, I guess that IS my hobby! 😉

I´ve been trying out a few recipes from my beloved Baking from my home to yours, which I feel obliged to, as it was such a hassle to get it. But within the muffin section I have only tried one recipe – the great grain muffins. On the other hand, I´ve baked them a couple of times, cause they are so tasty! But if the rest of the muffins are as good as them, I think I ought it to myself to bake my way through them! I wanted to bring some muffins to school for my group to enjoy, for a day we planned to stay at school finishing our project. And since I and my fellow students study nutrition, I decided the carrot muffins would be appropriate! Slightly healthier, but still with the sweetness and moistness of a regular carrot cake, but without the frosting. Though frosting probably could work out very well too… (Or maybe omitting the frosting is the the health-alibi. Whatever. When you put vegetables into muffins it equals healthy in my world!)

So, the verdict: They were absolutely lovely! I got praises and requests about the recipe from the group, they were a total hit! I loved their moistness, but without that greasy feeling. And they´re just sweet enough, without leaving you with a feeling of going into a sugar-coma. And – believe it or not – I actually didn´t miss the frosting! I did put some butter on, just to try it out, but I guess that´s just me. I butter everything! But there was really no need to. I did cut back a little on the oil and sugar, which wasn´t a problem, and next time I´ll try to substitute some of the flour with whole wheat too. And, before you dig in, I have to say: let them cool. It´ll be worth it. The flavour intensifies and they become so much better! And I loved the different textures provided by the carrots, raisins and walnuts. I didn´t have coconut, so I left that out, but I guess that would be a nice addition texture- and taste-wise! I´ve actually never tried coconut in carrot cake, so I guess it´s time to face that fear! Next time. Because there will certainly be a next time with these!


Carrot Spice Muffins

from Baking: From My Home to Yours, by Dorie Greenspan
makes 12 muffins

2 cups all-purpose flour
1/2 cup sugar
1 tablespoon baking powder
1 1/2 teaspoon ground cinnamon
1/2 teaspoon ground ginger
1/4 teaspoon salt
1/3 cup (packed) light brown sugar
2/3 cup flavorless oil, such as canola, safflower or corn
2 large eggs
3/4 cup whole milk
1 teaspoon pure vanilla extract
1 cup shredded carrots (about 3, peeled and trimmed)
1/2 cup shredded sweetened coconut
1/3 cup moist, plump currants or raisins
1/3 cup pecans or walnuts, toasted, cooled and chopped

Getting Ready: Center a rack in the oven and preheat the oven to 375 degrees F. Butter or spray the 12 molds in a regular-size muffin pan or fit the molds with paper muffin cups. Alternatively, use a silicone muffin pans, which needs neither greasing nor paper cups. Place the muffin pan on a baking sheet.

In a large bowl, whisk together the flour, sugar, baking powder, cinnamon, ginger, baking soda, and salt. Stir in the brown sugar, making certain there are no lumps. In a large glass measuring cup or another bowl, whisk the oil, eggs, milk, and vanilla extract together until well combined. Pour the liquid ingredients over the dry ingredients and, with the whisk or a rubber spatula, gently but quickly stir to blend. Don’t worry about being thorough – a few lumps are better than over-mixing the batter. Stir in the carrots, coconut, currants, and nuts. Divide the batter evenly among the muffin cups.

Bake for about 20 minutes, or until a thin knife inserted in the center of the muffins comes out clean. Transfer the pan to a rack and cool for 5 minutes before carefully removing each muffin from its mold. Or just leave them the way they are!