Orange-tian (whatever that is!)

The 2010 March Daring Baker’s challenge was hosted by Jennifer of Chocolate Shavings. She chose Orange Tian as the challenge for this month, a dessert based on a recipe from Alain Ducasse’s Cooking School in Paris.

I had never ever heard of anything like orange tian or tian in general, before the Daring Bakers challenge for march was announced. I like to think of myself as a person with a good knowledge of food, and particularly desserts, but this was something completely unknown to me! But that’s what Daring Bakers is about, I guess. Making me try new things, desserts I would have been missing out on through an entire lifetime, so thanks DB! I know I sometimes find it hard to think outside my favourite box consisting of chocolate, apple-desserts and pies, but it’s always fun when I get around to it. Exploring new lands. Trying out new techniques. And hoping that the result will pay off. There’s always with great anticipation that you wait for it to finish, because you never really know what it will be like. Like my dad always says when we’re trying out something new: “Maybe it’s the next McDonalds” But that usually refers to something very unlikely to be so, but still, it’s a great expression, I think! And what better feeling is there when the result comes out perfectly, just like the pictures in the recipe and tastes absoultely delicious. It’s a feeling of relief, happiness and proudness. That pleasurable feeling of satisfaction over the fact that I didn’t mess up even though it was the first time. (Or am I the only one doing a little happy dance in the kitchen when I get it right?)

The Orange tians made me feel all happy inside. They even looked good! And tasted good. I really didn’t see that coming. I was afraid it would be to bitter because of the marmelade which I’m not a big fan of. (Exept on croissants. Those two just belong together.) But my worries were unfounded. It wasn’t bitter at all, maybe a little too sweet actually. But that’s probably my fault as I might have added a little extra sugar to decrease the bitterness. Well, well. Mea culpa. Stick to the recipe, girl!

The dessert was a pleasant surprise in a manner of ways. I was a little sceptic to an orange-dessert at all. But I found orange to be the best of all the citrus-options. And I thought it would be bitter. And the pate sablee looked like just another plain booooring tastless cracker, with the only mission to hold it together. Boy, was I wrong! That was almost the best part! Luckily I had much dough left to make som extra pate sablees. I can conlude with saying it was a fun and tasty challenge. A surprisingly tasty challenge, but that’s what makes it even more fun. I can imagine I’ll be trying out variations of this dessert with other fruits or berries, maybe chocolate or caramel, peanuts, oreos…..mmmm – but the pate sablee will be the same though. Don’t fix it if it ain’t broken. And it ain’t. The recipe is great. I’ve made one batch of original orange tians. Did well, tasted well, well approved. Now. Start customizing!

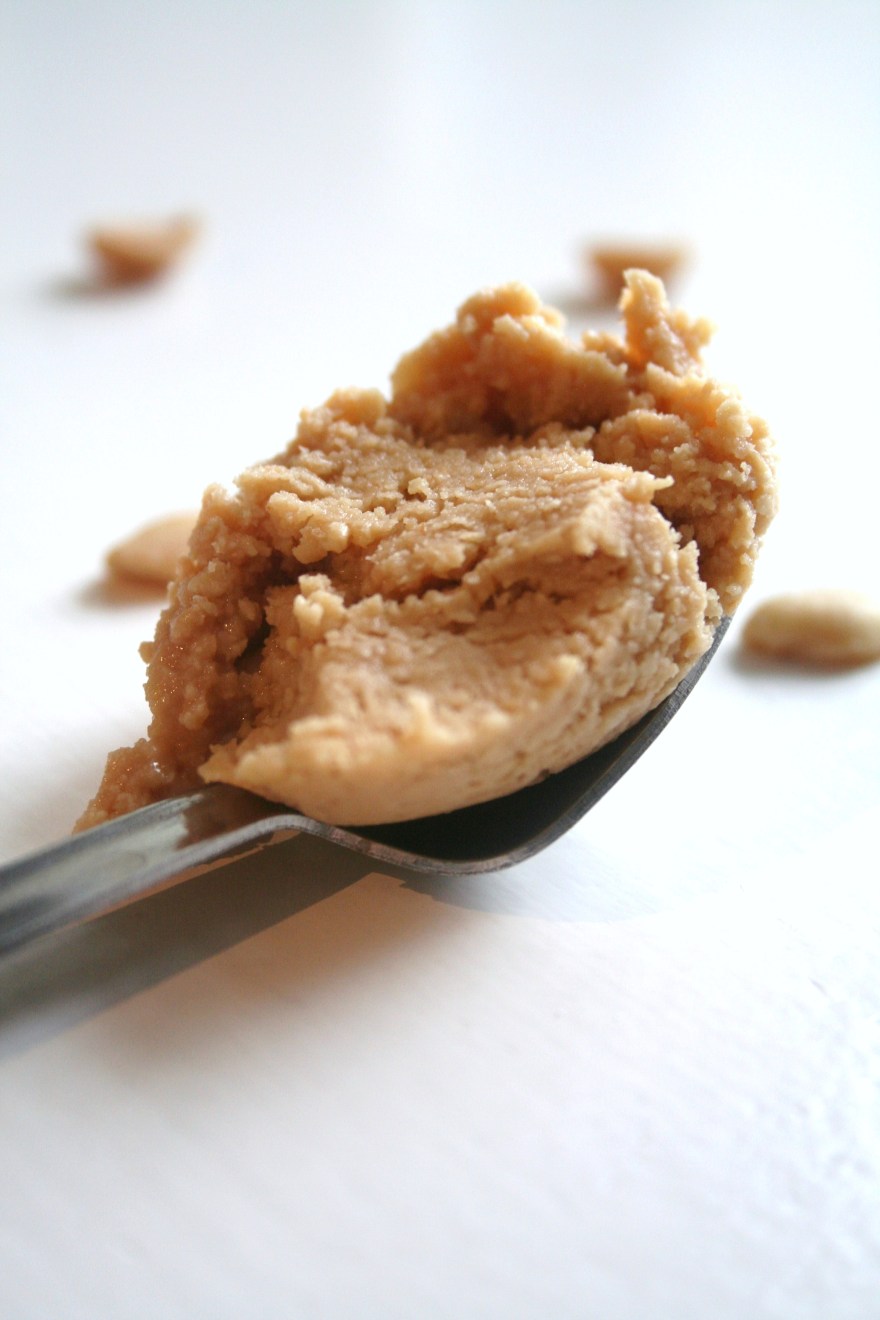
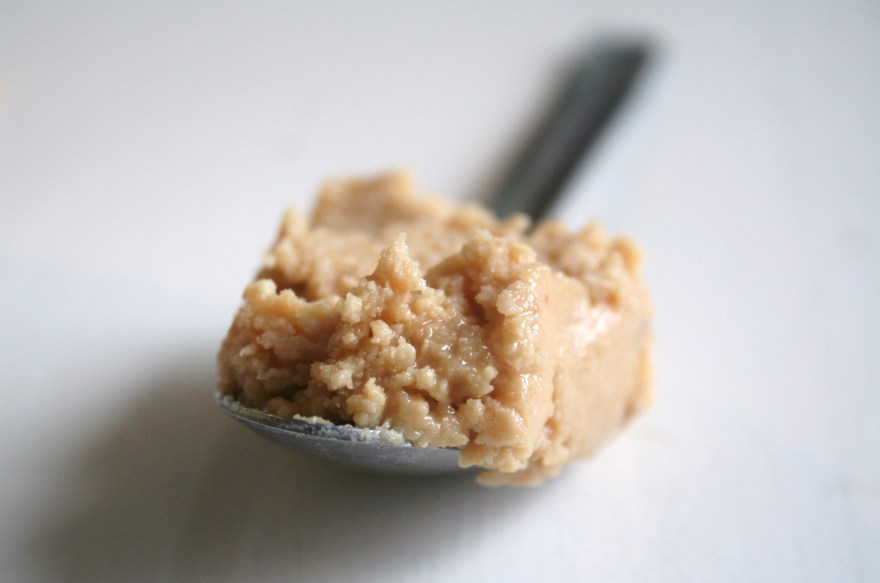
Homemade peanut butter

I’m not really sure how the idea of making my own peanut butter entered my mind, or where it came from. All I know, is once the thought of homemade peanut butter hit me, that was pretty much all I could think of. And I cursed myself for not thinking of this sooner. But then again, peanut butter is actually a rather new acquaintance in my life, so I guess it was soon enough. We don’t go back that long, PB and I, only about a year. Of course I knew about this product, but I didn’t buy it or eat it on a regular basis. Meaning never. And you know, if a product isn’t part of your grocery shopping routine, you pass it in the aisles, and unless it is presented right in front of you, you forget that it exsits. That’s the way it works around here anyway, and that’s exactly what happened to peanut butter and me. But luckily, we reunited. For life. I will never forget you again, PB!

What made me approach the peanut butter shelf in the store, was a blog post about oatmeal and peanutbutter. I love oatmeal, and I found this combination intrigueing enough to actually buy pb. And then it was done. Iwas in love. With oatmeal and peanutbutter, and peanutbutter itself. It’s now officially on my breakfast list which consists of a few chosen items. I am extremely predictable when it comes to breakfast. I think it goes back to the days when I was a little girl, and all I liked was mayo and cucumber or mayo and tomato on my bread. But that’s another story…

Anyway. I made my peanut butter without a recipe, but there are some out there if you want to do it right. Some recipes requires oil and salt, some only oil and some only peanuts. Roasted or unroasted. I figured it couldn’t go all wrong, as long as I had the main ingredient – peanuts. And I was right, it didn’t go all wrong! I forgot to roast the peanuts (though that was the ONE thing I was going to do) but it still turned out delicious. But next time I’ll be sure to roast them, for extra flavour.

Peanut butter

Peanuts (roast for 30 minutes on 175 C)
Vegetable Oil
Salt

Place the peanuts and salt in the bowl of a food processor. Process for 1 minute. Scrape down the sides of the bowl. Place the lid back on and continue to process while slowly drizzling in the oil and process until the mixture is smooth, 1 1/2 to 2 minutes. Take a spoon, or better yet, a finger and do a taste test. If approved, place the peanut butter in an airtight container and store in the refrigerator for up to 2 months.

Enjoy!

Enchiladas – leftover style

I still have a serious hung up on mexican food. I can’t get it out of my system. I guess I just have to cook and eat myself through a number of dishes until I feel satisfied. That won’t be anytime soon, though… Oh no.
I do blame the weather too. You can always blame the weather – whatever it is and for whatever you like. It’s always good to have someone to blame, and the weather is nice that way. Today was a cooold rainy day. A typical stay inside day. But I had school, and had to go out. Brrr. And stupid as I am, I didn’t bring an umbrella since it wasn’t raining the very moment I left the house, though I KNEW it was going to rain. What I didn’t know was that the rain would turn into snow… The nasty kind. Half rain half snow, very wet, and very very cold. So I got stuck at school for a few more hours than I planned, and starting thinking about food. Food that would take the edge of this cold and rainy day. I wanted something warm and comforting. Something spicy. Something with a little heat to defrost myself. Something……Mexican.

So I packed my bags and forced myself to go out, with the image of a nice meal on my mind, just to keep me going. I wasn’t really sure what to make at this point, but I stopped by a supermarket to get some necessary basic tex-mex ingredients and made my way home. Cilantro, corn, tortillas, beans, mushrooms, leeks, salsa and chicken was what I came home with. Hmm. Where do we go from here? Oh yes. I know. The big old internet. After some quick research I figured this was a day for enchiladas. I thought of quesadillas too, but enchiladas seemed more right. More of everything I wanted. However, when I turned on the oven and was ready to shake things up wannabe-mexican-style, (I’ll not even try to persuade anyone this is even related to authentic mexican food at all. Because it’s probably not) I opened the fridge and saw a lot of leftovers. Cake, (saving that for ugly betty tonight!) a burger from saturday, potatoes to go with it, some cream cheese frosting and yesterday’s stir fry leftovers. Especially that last thing caught my attention. It was a lot of it, it tasted really good yesterday and I absolutely hate to throw food, so I just had to use it. It consisted of mushrooms, onion, carrot and beef. And rice. And after adding some spices, some more veggies and corn, it turned into a mexican fiesta deluxe! It was sooo good. Exactly what I needed today. It’s good to give in to your cravings. You should try it. If you want to try this, here’s more or less what I did!

Ingredients
(Serves 2)
3 tortillas
100 g beef
1 onion
1 clove garlic
1 carrot
3 champignons
1 small can of corn (200 ml)
cumin
chili
2 leeks
cilantro
sour cream
salt and pepper
boiled rice
grated cheese

Directions
Chop the vegetables into small bite size pieces. Heat some oil in a pan and add the spices, onion and garlic. Stir fry for a couple of minutes and add the carrot and mushrooms. Fry for a few minutes until it start to soften and turn golden. Add the corn and rice and remove from heat. Warm the tortillas in the microwawe or on a pan to make them easier to work with. Distribute the filling evenly onto the tortillas and sprinkle half of the grated cheese over them. Put them in an oven proof greased pan, fold them together and cover with salsa and the remaining grated cheese. Bake them for 10-15 minutes, or until the cheese is melted and the tortillas are turning golden around the edges.

Serve immediately with guacamole, pico de gallo or whatever tickles your fancy. I made a salad of corn, cucumber and cilantro to go with it. And a good dollop of sour cream. It was really tasty. Really tasty.

Spaghetti & meatballs

Now this, is not the kind of dish I usually make. Or the kind of dish I’ve been known to make. Or the kind of dish I would even consider make a few years back. But things are about to change around here. Or so it seems, because this was freakin’ delicious!

Normally, I’m more of a vegetable person when it comes to dinner. (Though I do love a good meaty burger)
I’m also more of a creamy white sauce person when it comes to pasta.
Besides, I’m more of a meat or chicken person when it comes to meat. Meaning, not ground meat.

So that this dish would do it for me, wasn’t really expected. My boyfriend however, loves this stuff. So much that whenever -literally- I ask him what he wants for dinner, it’s spaghetti bolognese. Always. And I always turn him down, the poor thing. That’s not what I want. At least not the way he makes it. (Sorry!) But when I saw this dish on Pioneer Woman I thought I would give it a try, and be a nice girlfriend. But if I’m making something I normally don’t like, it oughta be good. If you know what I mean. Judging by the photos, I had faith. It actually looked really good. There was something very appealing about those round meatballs, and making them turned out to be very therapeutic. As was eating them… I’ve never made it before, and replacing meat with balls of meat never occured to me. But it was a lot better, so I’m not going back! It was so slurpy delicious, I actually skipped the salad. But next time, cause there will be a next time, I’ll serve it with a caesar salad and garlic bread as PW suggests. Adding garlic bread can only do good. The dish was really tasty, comfort food at its best. And the boyfriend was very content.

Ingredients
Serves 8
Meatballs (recipe from Pioneer Woman)
¾ pounds Ground Beef
¾ pounds Ground Pork
3 cloves Garlic, Minced
¾ cups Fine Bread Crumbs
2 whole Eggs
¾ cups Freshly Grated Parmesan
¼ cups Flat-leaf Parsley, Minced
¼ teaspoons Salt
Freshly Ground Black Pepper
Splash Of Milk
½ cups Olive Oil

Sauce
1 whole Yellow Onion, Diced
3 cloves Garlic, Minced
1 whole (28-ounce) Can Whole Tomatoes
1 whole 28 Ounce Can Crushed Tomatoes
½ cups White Or Red Wine (optional)
¼ teaspoons Salt
1 teaspoon Sugar
Freshly Ground Black Pepper
¼ cups Flat-leaf Parsley, Minced
8 whole Fresh Basil Leaves, Chiffonade (optional)
Spaghetti

Adaptations: I used only ground beef, skipped the wine and replaced parsley with basil.

Directions
To make the meatballs, combine meat, garlic, breadcrumbs, Parmesan, eggs, salt, pepper, parsley, and a splash of milk in a mixing bowl. Mix together well with hands. Roll into 1 1/2-inch balls and place on a cookie sheet. Place in the fridge or freezer for 5-10 minutes to firm up.
To brown the meatballs, heat olive oil in a heavy pot or large skillet over medium-high heat. Add meatballs 8 at a time, turning to brown. Remove and drain on a paper towel after each batch. Set meatballs aside.
In the same pot, add the onions and garlic and cook for a few minutes. Pour in whole tomatoes, crushed tomatoes, and wine, if using. Add salt, pepper, sugar, and parsley. Stir to combine and cook over medium heat for 20 minutes.

Add meatballs to pot and stir in gently. Reduce heat to a simmer and cook for 30 minutes, stirring very gently a couple of times during the simmer. Just before serving, stir in basil if using.
Pile on the meatballs over a big bowl of cooked spaghetti. Serve with garlic bread and a caesar salad. Sprinkle with extra Parmesan. Enjoy!

Blue cheese salad

I have certain food items on my mind for the time beeing. There are two main cravings going on inside my head. One is mexican food. Which I’ll probably get back to in another post. Tex-mex, tacos, chillis, nachos, guacamole and all that stuff. Yum, I’m getting hungry just typing that! The other one is blue cheese. Blue cheese this and blue cheese that is what it’s all about these days. I looove that stuff! I think my crush started when we made burgers a couple of weeks ago, and I wanted to do something different about it, and found this recipe at Pioneer Woman called My most favourite burger. And if Pioneer Woman approves, I’m all in! So I tried it, and fell in love. Yum. It was so delicious, higly recommended! And a nice twist to the plain ol’ burger. I too may have a new favourite burger. Slightly melted blue cheese, sweet caramelized onions and crisp lettuce blended perfectly together with the spicy patty. Do try!

Anyway, I was reminded of blue cheese and its exellent taste, and wanted to incorporate it into several dishes. I haven’t really been experimenting or going wild, because once I made this salad, and tasted it, no further exploring was necessary. It was perfect. I was content. There’s nothing revolutionary to it, just a simple and classic ensemble of ingredients that pairs together very well.

It can hardly be called a recipe, but it goes something like this:

Pears – crunchy pears (Conference is what I used)
Little Gem Lettuce
Blue cheese of your choice
Walnuts

That’s the base of the salad. You can add whatever you want, or nothing at all. There’s really no need for anything. But be sure not to add to much or too overpowering flavours, after all, the blue cheese plays the main part here. And the pears. This time I added some chicken just to keep my boyfriend happy.

Just toss everything together in a bowl. It’s a nice touch to roast the walnuts if you bother. Garnish with balsamic vinegar and dig in! Oh, my. It’s perfection. So if you’re like me, unaware or just have forgotten about blue cheese, bring it (back) into your life! Start today by making this salad. I promise to win you over. A little warning though: You might get hooked and want to put blue cheese in everything you make. I hear it can have that effect on some people. Ahem.