Simple chicken & mango salad

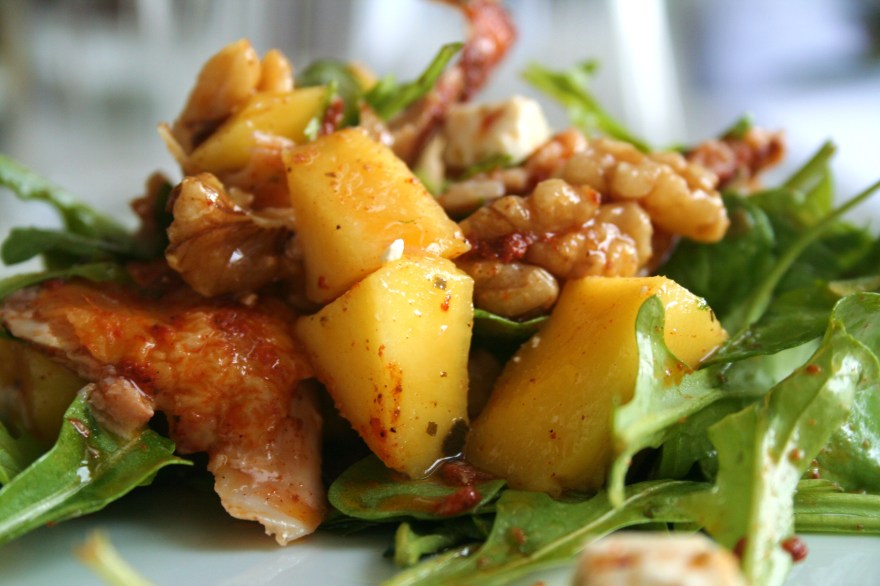
chicken, mango, walnut and feta salad

I love a good salad, but a rarely eat one. Or, I rarely make one. I can very easily order and eat one at Bølgen og Moi! But at home, not so much. I lack inspiration for putting together a decent salad. Often it takes too many strange ingredients, and if not, the dressing contains more things than the salad itself. I know I don’t bother buying 5 different bottles of oil, spices, herbs or whatever just to make one single salad. So I stick to a few signature salads that I make over and over again. This one is a definite favourite. It was born one day I didn’t feel like cooking much, and threw together some stuff I had. It turned out to be a big hit, even with my boyfriend, who’s not much of a salad lover, like most guys… But this is good, let me tell you. This is easy. 5 ingredients, all included – can you handle it?

1 Storebought marinated grilled chicken
Rocket
Marinated feta cheese
A handful of walnuts
1 Mango

Cut the chicken in half. Remove bones, and tear the meat in bitesize chunks. No need to bring out the knife for this, you can easily tear the meat off the bones instead of cutting it. Much more fun! I also like uneven pieces and getting my hands dirty doing this. When you feel you have enough, put the chicken in a big bowl or on a big plate. Open the packet of rocket and drizzle it over the chicken, a lot of it, because the oil from the chicken and cheese will soak some of it up.

Now, the feta cheese. I buy small cubes of marinated feta cheese – they are perfect for this, ready to use, so just sprinkle them on top of the rocket and add a few spoons of the oil as well. That will be the dressing. (Could this be easier?) And finally, the mango. Now it’s probably time to get your knife and cutting board out. If you don’t need it, you’re good. Cut the mango however you want it, and add it to the salad. Cut the walnuts roughly, or don’t, and sprinkle over the mango. Give the salad a little toss and you’re done. Ta-da! It’s salad time in no time.
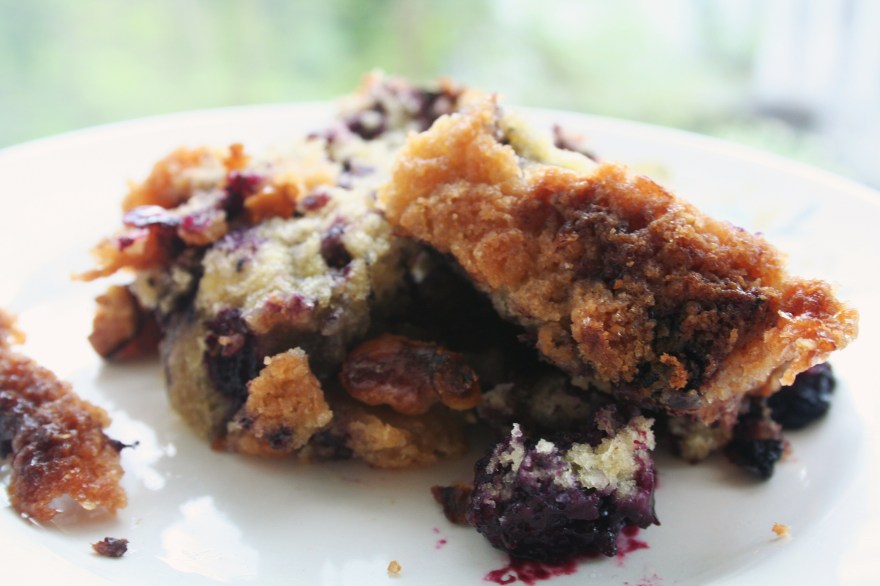
Blueberry crumble cake

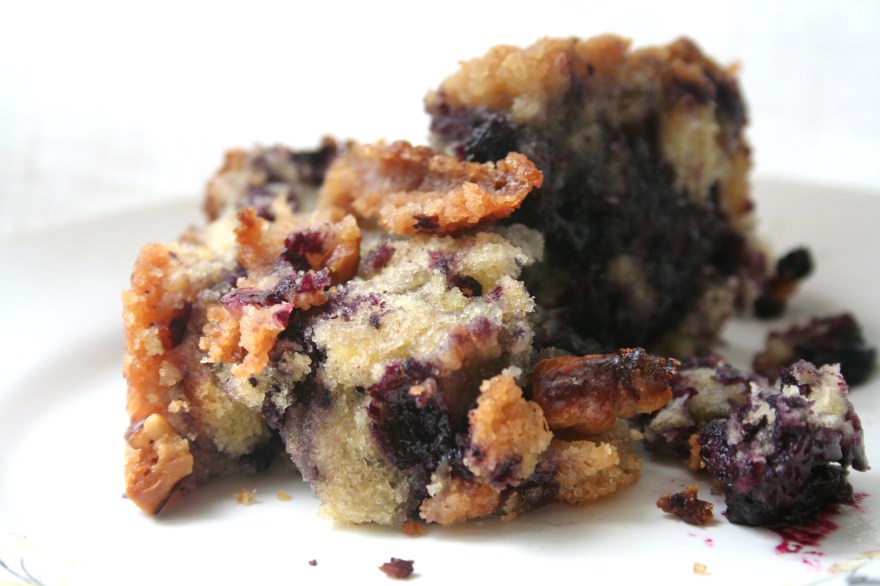
blueberry crumble cake

The image of this cake has been stuck on my mind ever since I stumbled upon the recipe and the blog quirky cupcake. Not this picture, though. I didn’t quite capture the loveliness of this cake, but there it looked like a little piece of heaven, and I don’t know how many times I visited her blog just to look at that picture. It looks sooo good. Check it out! The blog is great as well!

So today seemed like a nice day to give this a go. It’s Asencion Day, it’s pouring down (at least when I started to bake) the shops are closed and last but not least, I’ve been wanting this cake badly! The perfect occasion. I’ve had my freezer packed with blueberries since I picked several liters last autumn, and now I could finally put the last berries to use. I love blueberries, so I don’t want to spoil them on any random recipe, especially when I’ve handpicked them. It has to be special, and this cake looked like it could be blueberry-worthy. It most definitely was.

The recipe was a previous TWD recipe, from Dorie Greenspan. She’s not known here in Norway, but I understand she is quite the baker. I found the recipe here, and when accidently scrolling down the page I found so many mouthwatering pictures of various sweet delights, I think I have to get her book! I realize I’ve been missing out! Well, not anymore. Thank you internet!

I followed the recipe strictly, only leaving out nutmeg which I don’t care much for. And replacing buttermilk with regular milk, as I didn’t have any and the shops are closed. And apart from the fact that the batter ran over the edges of the pan, and I didn’t have a sheet under, meaning the batter poured over and on to the oven, started burning, developing a thick smoke and almost causing a fire, which made me take it out of the oven before it was done, allow the oven to cool, then wash away all the burned batter, turn on the oven again and put the cake back in for the last 20 minutes to finish – it turned out great!

blueberry crumble cake

It was absolutely delicious. And worth the extra effort, thank God. It would be really annoying if the cake was dull and dry after all the mess I created, but it wasn’t at all. It was a perfect combo of a thick, crunchy, buttery crust and soft cake and gooey berries underneath. Blueberry worthy? Indeed-e-o. Can’t ask for more!

Crumble with rhubarb and ginger

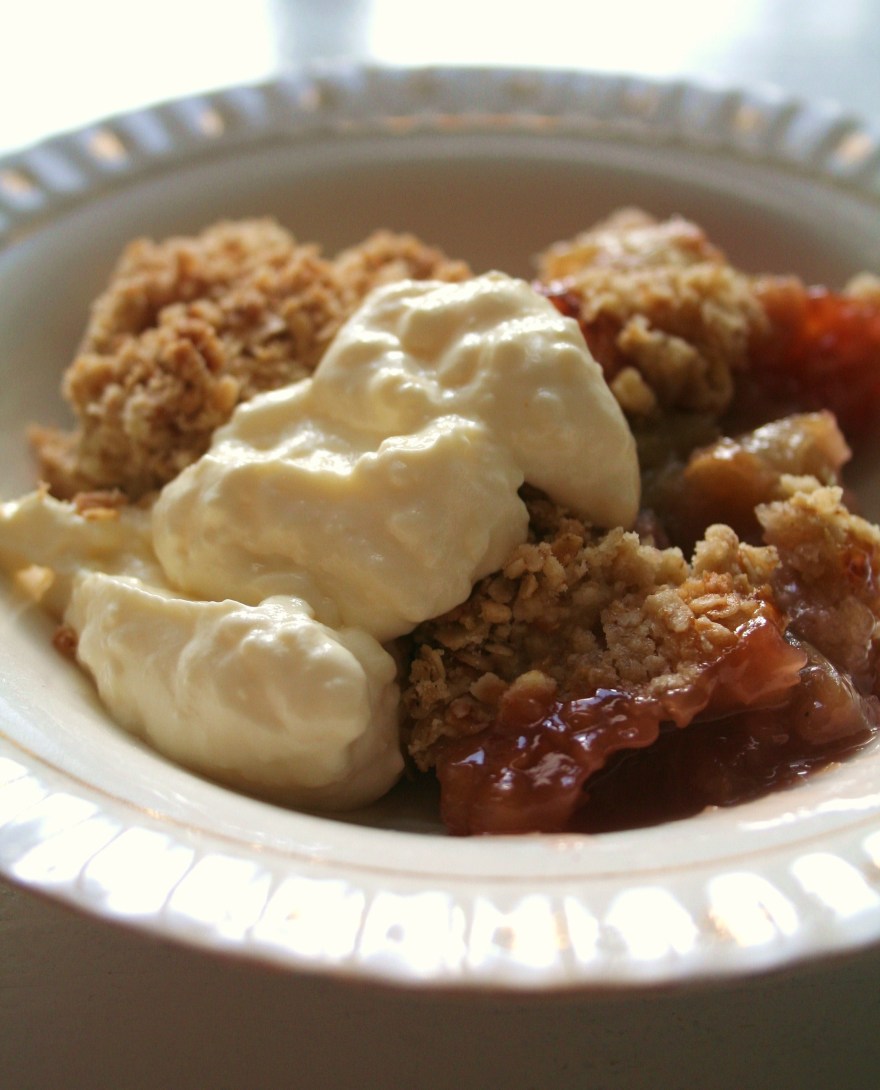
rhubarb crumble

It’s funny how you can read the season by visiting the food blogs. Lately I’ve seen various rhubarb recipes popping up on every other food blog, meaning it’s this time of year. Spring, maybe early summer and definitely rhubarb season. I’ve been meaning to make something rhubarb for quite some time now. My parents have rhubarb in their garden, so that’s where I get mine from, but they’re still a little too small. But luckily, in the deep of the freezer, I discovered some rhubarb that have been waiting for almost a year. So I decided to get them out of there, and make something of them as a warm up while I’m waiting for the fresh real thing. I have so many favourites with this plant. Rhubarb and strawberry pie – the absolute taste of summer, the moistest rhubarb muffins, rhubarb compote and crumble. I’ll soon get back to them in a later post.

Although this is a slightly new version. I borrowed “Jamie at home” at the library today, and instantly set my eyes on actually all the rhubarb recipes. The pictures are so beautiful. I love this book, I have to get it. But I made a decicion, and landed on the crumble.

Ingredients: (4-6 portions)
1 kg rhubarb cut in large chunks
200 g soft brown sugar
zest and juice of 1 orange
100 g flour
100 g cold butter
100 g oatmeal
2 pieces of chopped fresh ginger

Directions:
Turn the oven to 180 degrees celcius. Put rhubarb and half of the sugar in a deep pan. Add the orange juice and zest, put the lid on and bring to the boil. Let it simmer for a couple of minutes, then remove the lid. Let it continue to simmer for 5 minutes until the rhubarb softens. Pour everything in a fireproof pan and spread it out evenly.

For the crumble:
Mix butter and flour with your fingers til it resembles crumbs. Stir in oatmeal, the rest of the sugar and the ginger. (whoops – I added the ginger to the rhubarb together with the orange….well well, I guess that works too) Spread the topping over the rhubarb and bake the crumble in the center shelf for about 40 minutes or when the topping looks golden and the rhubarb starts to bobble.

And that’s pretty much it! Allow it to cool for 15 minutes, then serve while it’s still hot with cold whipped cream, custard or ice cream. Whatever tickles your fancy. The verdict: Okay, but nothing to go crazy about. A little sour, and I prefer a tradtional crumble without the oatmeal, but for a regular tuesday, this works. Anything containing oatmeal feels kinda healthy-ish…
Good? yeah. Great? No. It will not join my favourite rhubarb recipes section, but hey, maybe yours?

Veggie burger

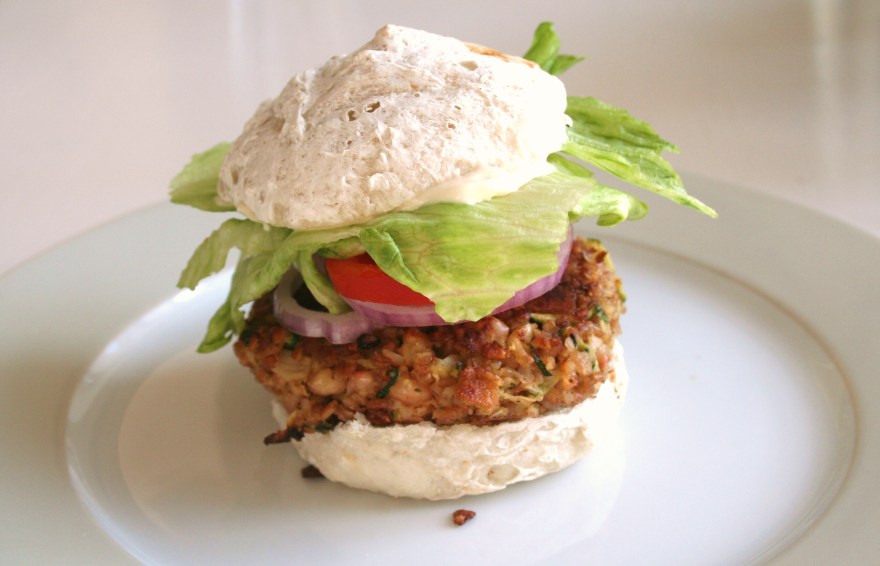
veggie burger

I haven’t been cooking or baking enough lately it seems. Two weeks since my last post, that’s too bad. Shame on me. Well I have made several things and even taken photos, but somehow they haven’t made their way in here. I guess they weren’t worth it. But this post is. It’s burgertime folks.

Me and my boyfriend are hung up on burgers for the moment. I have to stress that I’m talking about homemade burgers, the real thing, and nothing else. A few weeks ago I was at the library, and went directly to the cookbook shelves like I always do, and picked up a book called “Burgers” by Paul Gayler. I took it home and started dreaming about all the good burgers I would make. But, one can’t live on burgers alone, so I haven’t made any of them until now. So many burgers, so little time! We were supposed to make a pork-burger last week, but ended up making a chicken burger instead. It’s already a classic, after only 2 makings. But now it was finally time to try out one of the recipes from the book. This called for something different, so I decided to try one of the veggie burgers. I like to think that’s a little healthier. It seemed like the perfect choice for a midweek burger.

There were many to choose from, but I landed on one made of millet/bulgur, zucchini and walnuts – it looked mouthwatering and I had all the neccesary ingredients. That is, I replaced millet with bulgur, and I added some beans I had in the fridge. It came out really good. I loved the taste and slightly crunchy texture. I didn’t grind the walnuts, but chopped them instead to get nice chewy chunks. Maybe that’s why it didn’t hold together all that well, but it held. It crumbled up once I took a bite, though, but who cares, that’s what veggie burgers do, right? (Right??) Just make sure the bun is big enough for the patty, that’ll do!

Ingredients:
1/2 zucchini, grated
1/2 teaspoon currypowder
100 g bulgur/millet
1 onion, finely chopped
150 g walnuts, finely chopped
50 g breadcrumbs
1 egg

Grate the squash on to a plate and sprinkle with salt. Leave it for 15 minutes for all the liquid to be absorbed. Rinse with cold water, and squeeze out all excess fluid with your hands. Leave on a kitchen towel to dry.

Boil 3 dl of water, curry and salt in a pan. Add the bulgur, remove from heat and cover. After approximately 5 minutes all the water should be absorbed. If not, and it’s too hard, add some more. Pour into a bowl and allow to cool.

Heat the oil in a non stick pan and fry the onion. Add the zucchini, and stir until it turns soft, about 5 minutes. Pour the walnuts, bulgur, and crumbs in a bowl and mix with the vegetables. Stir in the whisked egg. Taste with salt and pepper. In addition to the beans, I also added some sesame oil for a nice nutty flavour. Cool the mixture in the fridge for 1 hour. Shape it into 4 equally sized burgers, and fry them golden. Put them into your chosen bun, and what you do from here is pretty much up to your own personal taste. Be creative! Or not. I have to have mayo, lettuce, tomato and onion. And how can that possibly fail? It cannot. It was good.