Orange-tian (whatever that is!)

The 2010 March Daring Baker’s challenge was hosted by Jennifer of Chocolate Shavings. She chose Orange Tian as the challenge for this month, a dessert based on a recipe from Alain Ducasse’s Cooking School in Paris.

I had never ever heard of anything like orange tian or tian in general, before the Daring Bakers challenge for march was announced. I like to think of myself as a person with a good knowledge of food, and particularly desserts, but this was something completely unknown to me! But that’s what Daring Bakers is about, I guess. Making me try new things, desserts I would have been missing out on through an entire lifetime, so thanks DB! I know I sometimes find it hard to think outside my favourite box consisting of chocolate, apple-desserts and pies, but it’s always fun when I get around to it. Exploring new lands. Trying out new techniques. And hoping that the result will pay off. There’s always with great anticipation that you wait for it to finish, because you never really know what it will be like. Like my dad always says when we’re trying out something new: “Maybe it’s the next McDonalds” But that usually refers to something very unlikely to be so, but still, it’s a great expression, I think! And what better feeling is there when the result comes out perfectly, just like the pictures in the recipe and tastes absoultely delicious. It’s a feeling of relief, happiness and proudness. That pleasurable feeling of satisfaction over the fact that I didn’t mess up even though it was the first time. (Or am I the only one doing a little happy dance in the kitchen when I get it right?)

The Orange tians made me feel all happy inside. They even looked good! And tasted good. I really didn’t see that coming. I was afraid it would be to bitter because of the marmelade which I’m not a big fan of. (Exept on croissants. Those two just belong together.) But my worries were unfounded. It wasn’t bitter at all, maybe a little too sweet actually. But that’s probably my fault as I might have added a little extra sugar to decrease the bitterness. Well, well. Mea culpa. Stick to the recipe, girl!

The dessert was a pleasant surprise in a manner of ways. I was a little sceptic to an orange-dessert at all. But I found orange to be the best of all the citrus-options. And I thought it would be bitter. And the pate sablee looked like just another plain booooring tastless cracker, with the only mission to hold it together. Boy, was I wrong! That was almost the best part! Luckily I had much dough left to make som extra pate sablees. I can conlude with saying it was a fun and tasty challenge. A surprisingly tasty challenge, but that’s what makes it even more fun. I can imagine I’ll be trying out variations of this dessert with other fruits or berries, maybe chocolate or caramel, peanuts, oreos…..mmmm – but the pate sablee will be the same though. Don’t fix it if it ain’t broken. And it ain’t. The recipe is great. I’ve made one batch of original orange tians. Did well, tasted well, well approved. Now. Start customizing!

Do I dare…. French macarons

chocolate macarons

THE DARING COOKS OCTOBER 2009 CHALLENGE: MACAROONS

The 2009 October Daring Bakers’ challenge was brought to us by Ami S. She chose macarons from Claudia Fleming’s The Last Course: The Desserts of Gramercy Tavern as the challenge recipe.

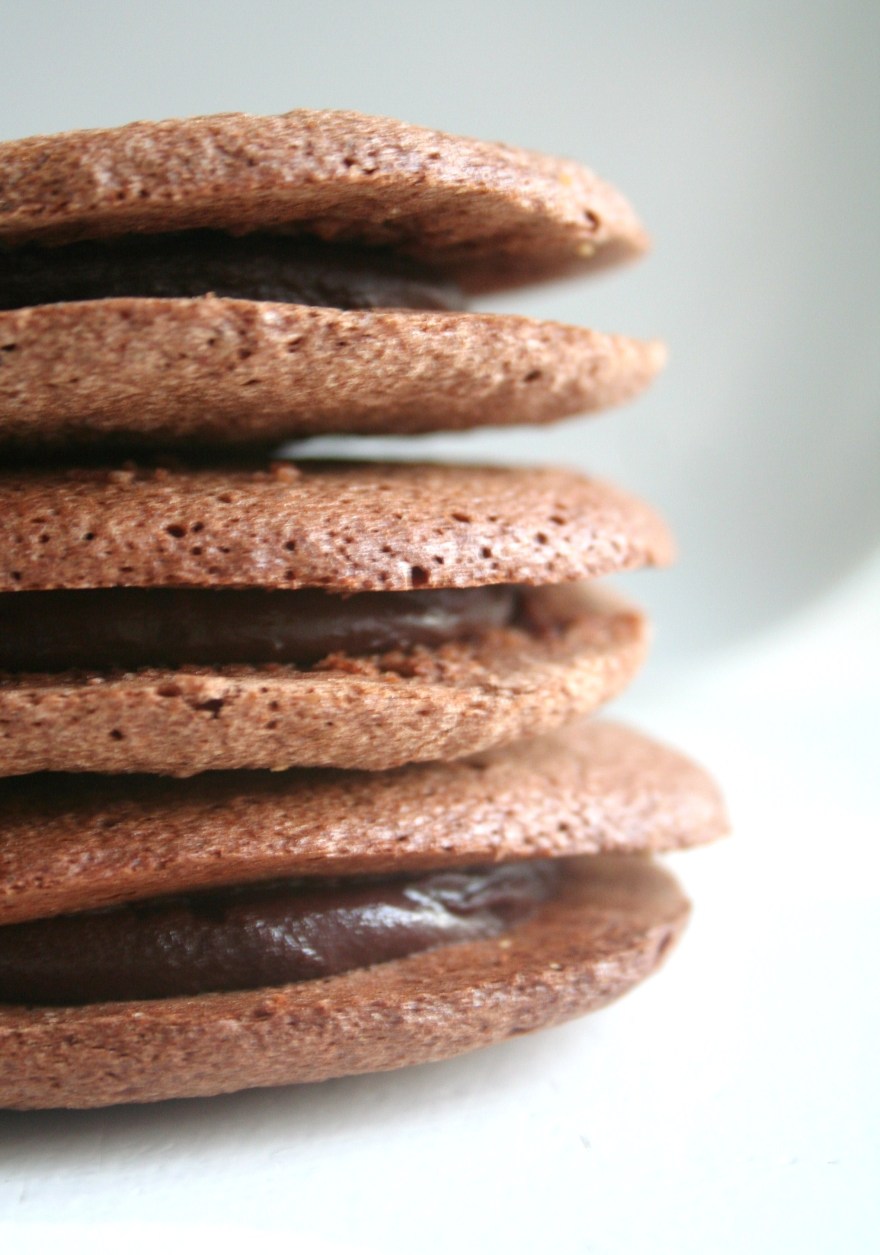
When I got to know this month’s challenge was french macaroons my first thought was YES! I love macaroons. I fell instantly in love with these wonderful creatures when I was in Paris a few years back. I was wandering down Champs Elysées, and spotted a bakery that I had to enter. There were lots of things to choose from obviously, but the macaroons stacked on the shelves immediately caught my eye. They were so cute, looking like sweet mini-hamburgers, I knew I had to try them. They had all kinds of flavours and colours, but I safed it, and chose the chocolate macaroon. One for me and one for my boyfriend. We went outside and sat down on a bench, and took these mysterious things out of the paper bag. (At this time I had never heard of macaroons, and didn’t know what to expect.) I took a bite – looked at my boyfriend who just did the same – we both smiled and started to giggle. It was sooo good! I didn’t know what to say but smile at this. That crisp shell sandwiched together with a thick layer of tasty chocolate ganache was probably one of the tastiest chocolate-things I had ever eaten. From that day, I was a dedicated macaroon lover.

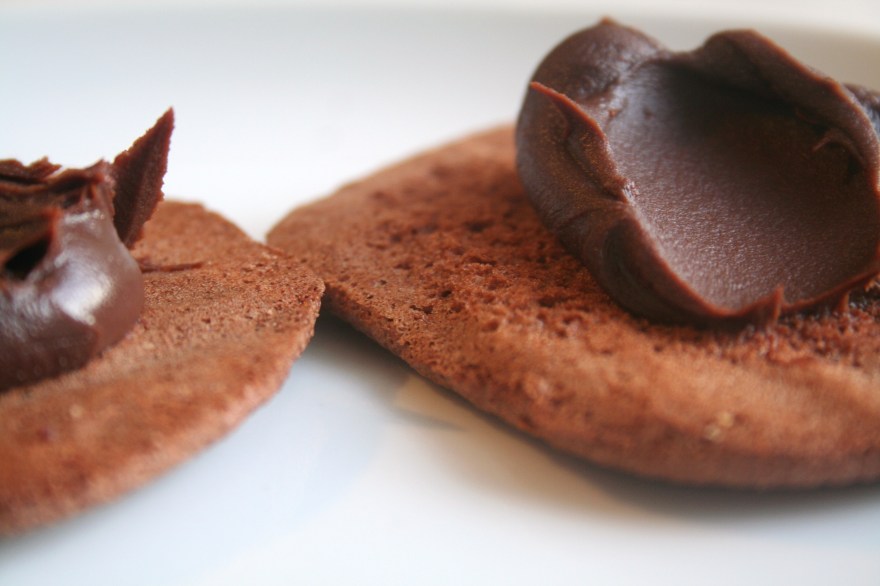
macarons ready to be sandwiched

I dreamt about it, and started exploring the net looking for recipes, just to realize this was a big thing in the baking world. Big, because of its delicioius taste, its super cute look, the varieties in taste, filling or colour, but also, if not mostly because making macaroons is an art. It takes time. It takes practice. And there are a gazillion ways on how to supposedly get the best result, and I have a long looong way to go when it comes to making perfect macarons. So, after my first thought, I started to move from Yes! to oh-oh, No….. My two previous tries didn’t turn out too well. Not too bad either, but I didn’t get those characteristic feet around the edges. And they were a little uneven in size and shapes. The taste was good, but they were quite flat, and not very impressive looking. Not like the mini-hamburger I had in mind. More like a crèpe, I’m afraid. But third thimes a charm, right?

So, I rolled up my sleeves, put on my apron, and started to bake with great confidence. A little too confident maybe. I had read about what to do to ensure the feet. Letting the piped shells rest for some time before popping them in the oven, stacking them on several baking trays and not over-folding the batter. I tried it all. Though I think I failed at the last one. My bowl was a little too small, and it was hard to fold the batter properly, and it sunk together too much at the end. And my piper was not acting very cooperative, so the batter turned more and more runny as my kitchen got more and more messy.

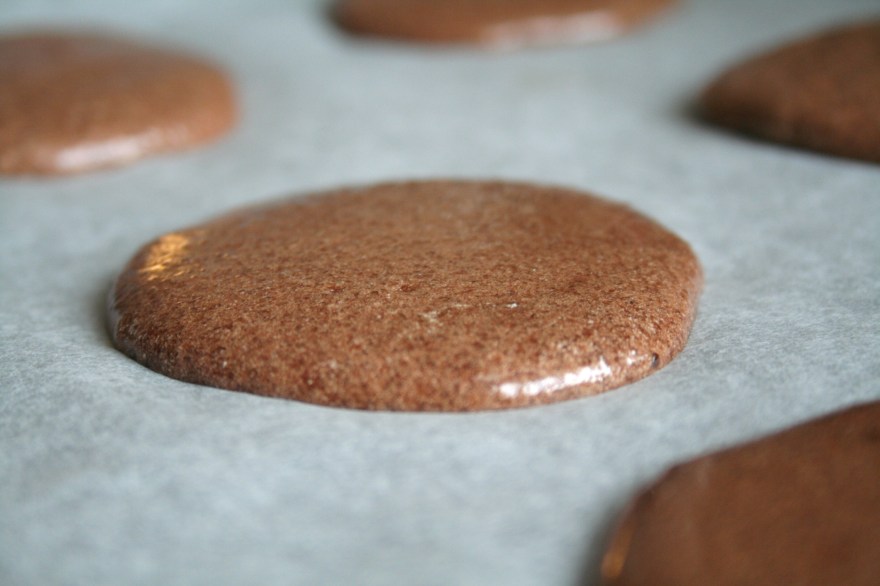
my macaron shells

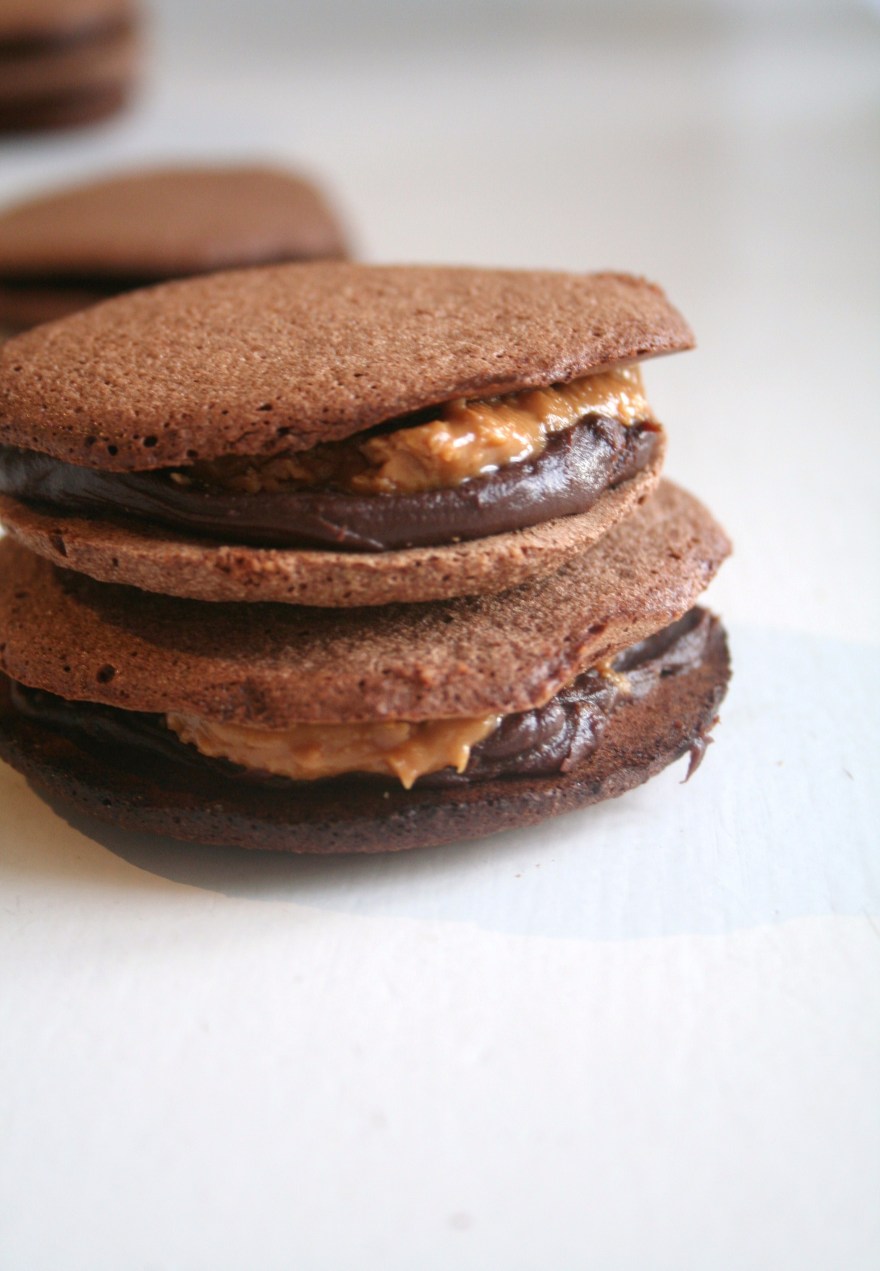
I eventually gave up and spooned the batter onto the tray instead, and popped them in the oven. And to my disappointment, no sign of feet. I still had a slight hope maybe one of my 3 trays would grow some feet, but no, not this time either. Arrgh. My kitchen turned against me today, ever had a one of those days? First I managed to continue whisking above the eggwhites, in the air, leaving eggwhites all over my kitchen bench. Then, my piping-instrument was just acting just evil, also leaving a great mess, only this time brown and chocolate flavoured. I had a real yin yang thing going on there… Then, I dropped my bowl of grinded almonds on the floor…. And then, no feet! I think I deserved some feet today. But the taste was good, though. I made all the shells with cocoa powder and decided to be more creative with the filling. I had plain chocolate ganache of course, and used that as a base. I also made some with coffee flavour and some snickers-macaroons, with peanut butter and ganache. Not overly creative, but what can I say – I’m a chocolate lover!

peanut butter and ganache

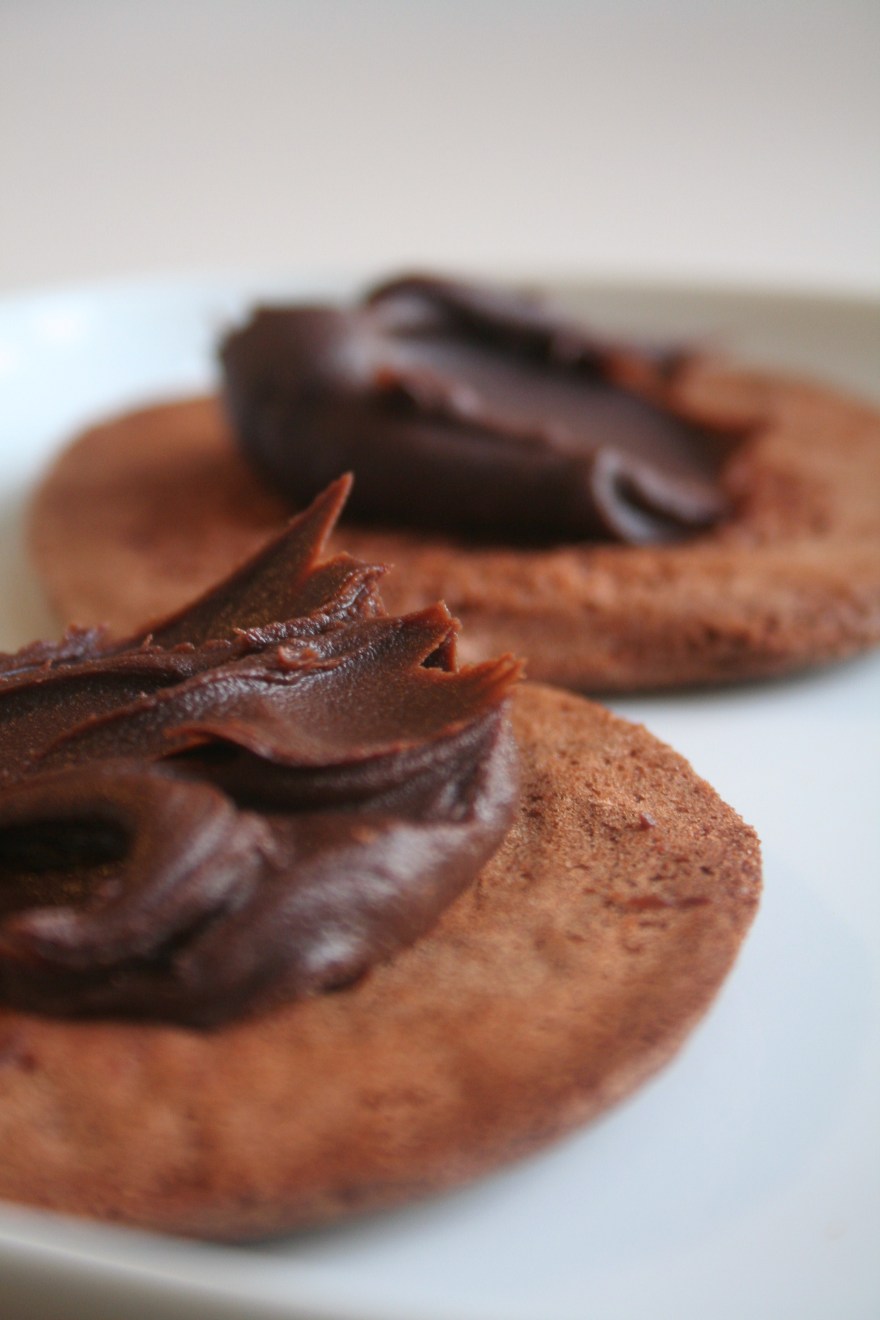
chocolate ganache

They were all quite good, despite their sad apperance. I didn’t really know what to expect, but I didn’t have too great expectations. So somewhat surprised, I found them really good! They had a crispy edge, with a softer chewy texture, and with a heavenly thick layer of chocolate gancache in between, the missing feet were almost forgotten. The peanut butter-chocolate ones, aka snickers macaroons were delicious too. You gotta love that peanut-chocolate combo! I can’t really say I feel any closer to mastering the art of French macarons yet, but after all, I am an amateur. It was a fun challenge though! And a tasty one! Here’s the recipe!

snickers-macarons

Daring bakers: Dobos torte

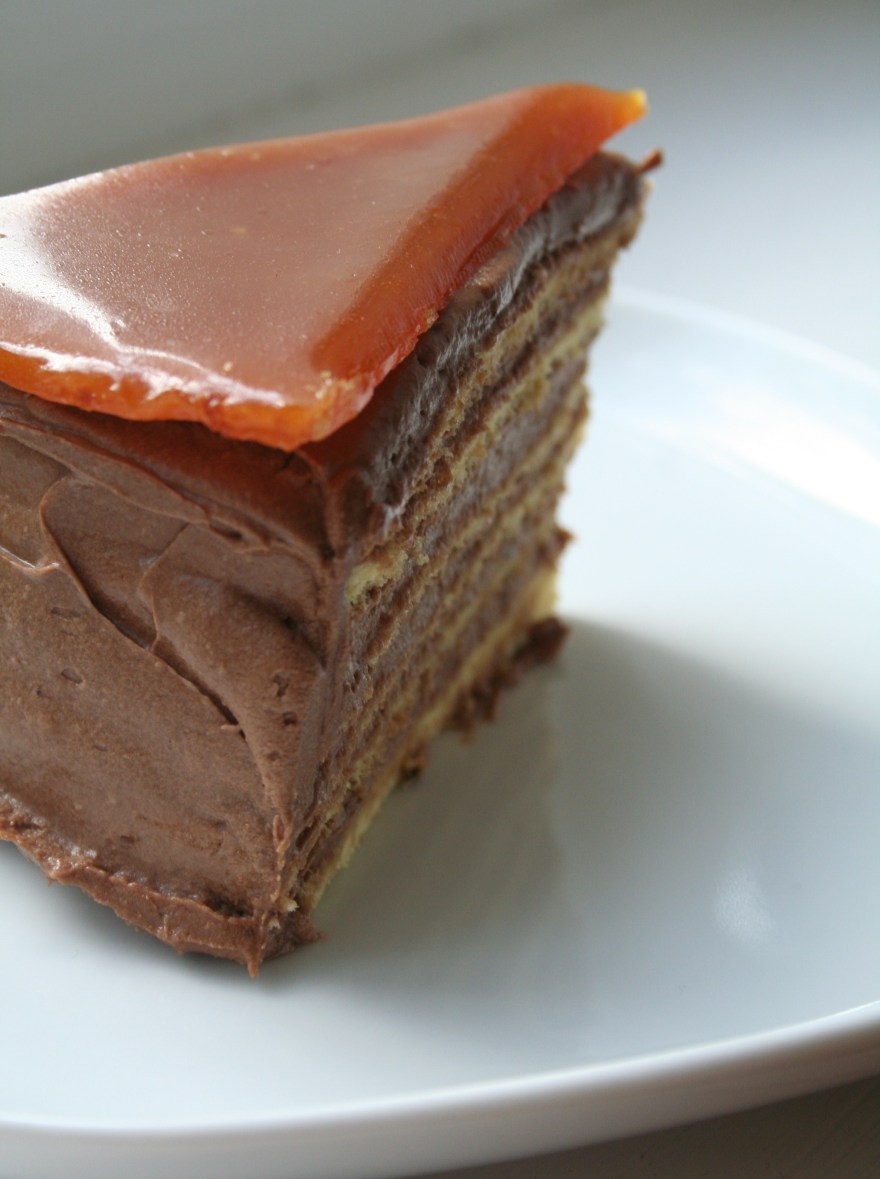
dobos torte

The August 2009 Daring Bakers’ challenge was hosted by Angela of A Spoonful
of Sugar and Lorraine of Not Quite Nigella. They chose the spectacular Dobos
Torte based on a recipe from Rick Rodgers’ cookbook Kaffeehaus: Exquisite
Desserts from the Classic Caffés of Vienna, Budapest, and Prague.

So, what is the Dobos Torta (or Torte)?
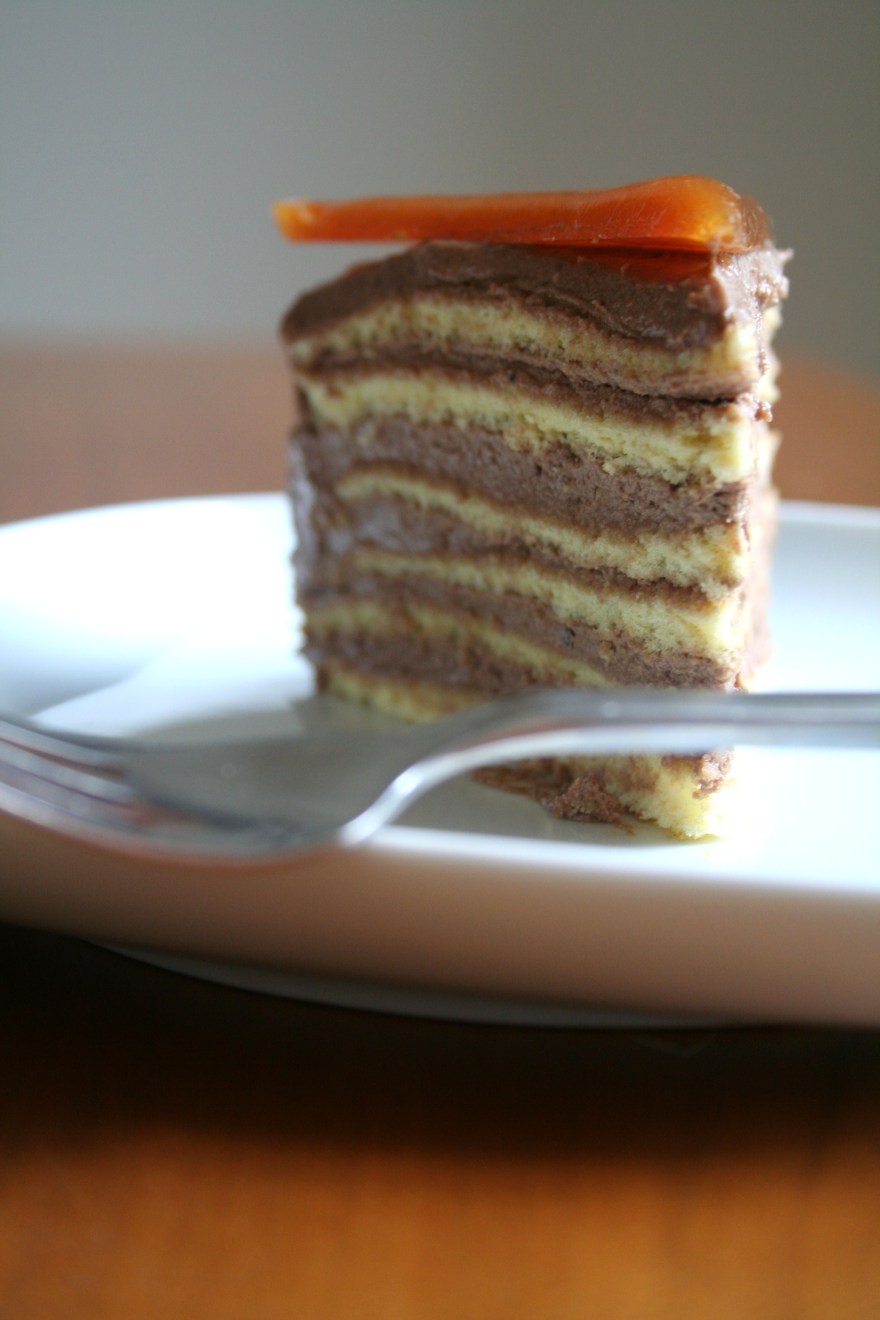
The Dobos Torta is a five-layer sponge cake, filled with a rich chocolate buttercream and topped with thin wedges of caramel. (You may come across recipes which have anywhere between six and 12 layers of cake; there are numerous family variations!) It was invented in 1885 by József C. Dobos, a Hungarian baker, and it rapidly became famous throughout Europe for both its extraordinary taste and its keeping properties. The recipe was a secret until Dobos retired in 1906 and gave the recipe to the Budapest Confectioners’ and Gingerbread Makers’ Chamber of Industry, providing that every member of the chamber can use it freely.

Finally, I got around to make the challenge for August, this very torte. I don’t know why I kept delaying it, cause it wasn’t that hard after all. It looked a bit intimidating with all those layers, and not like something I would just throw together on a regular weeknight. But with only one week left, I couldn’t wait any longer for an occasion, and decided to challenge myself. And the next day my mother invited us for dinner, so I could bring the dobos torta someplace after all. I don’t like having an entire cake within the house. There is only one end to that.

Anyway. I started by making the buttercream. Actually, I made it the day before. It was easy. I was afraid it wouldn’t thicken enough, making a creamy mess of a cake, but luckily that didn’t happen. It was perfectly creamy yet firm enough to form. Especially after cooling overnight in the fridge.

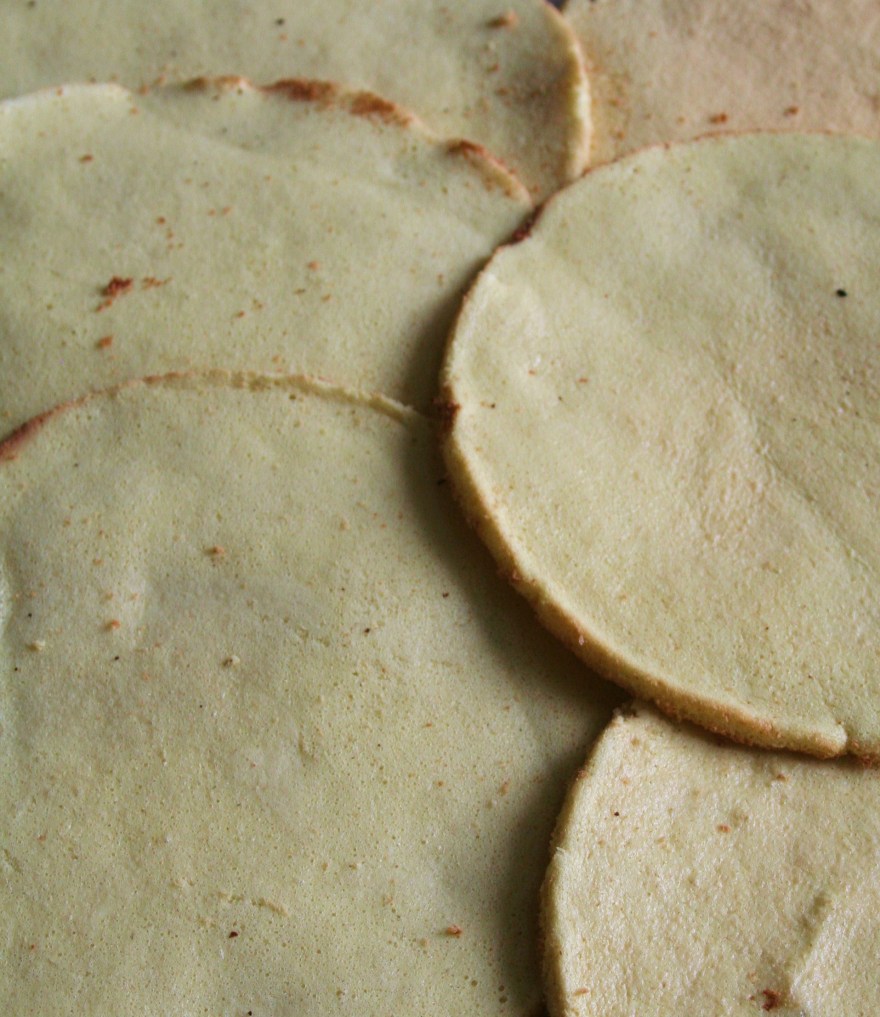
Secondly came the sponge cake layers. I initially thought I was supposed to make one sponge cake, and then divide it or cut it in many thin layers. So, the lazy baker that I am, I was a little disappointed when I realized that I would have to bake one layer at a time. A little more time consuming than I had planned, but I quickly understood that this was the way to go. Because those layers would be even more uneven if I had to cut them myself. So, patience, my friend. It will be worth it in the end. I had a little more than 1 litre of batter which was divided into 7 layers. Or I tried to divide them more or less equally, giving about 1,5 dl batter per layer. I could easily have made 10, but the first ones came out a little thick, and 7 was more than enough for me. So when the last one was done, I put them on a rack to cool.

sponge cake layers

Then the fun part could begin: assembling the cake! I took the chilled buttercream out of the fridge, and separated it in 7 sections. I took the thickest sponge layer as my bottom layer and spread one section of buttercream evenly over it. Then I took another sponge cake layer followed by a layer of buttercream and repeated this until I was done. I saved a little buttercream to cover the sides and even out eventual lumps.

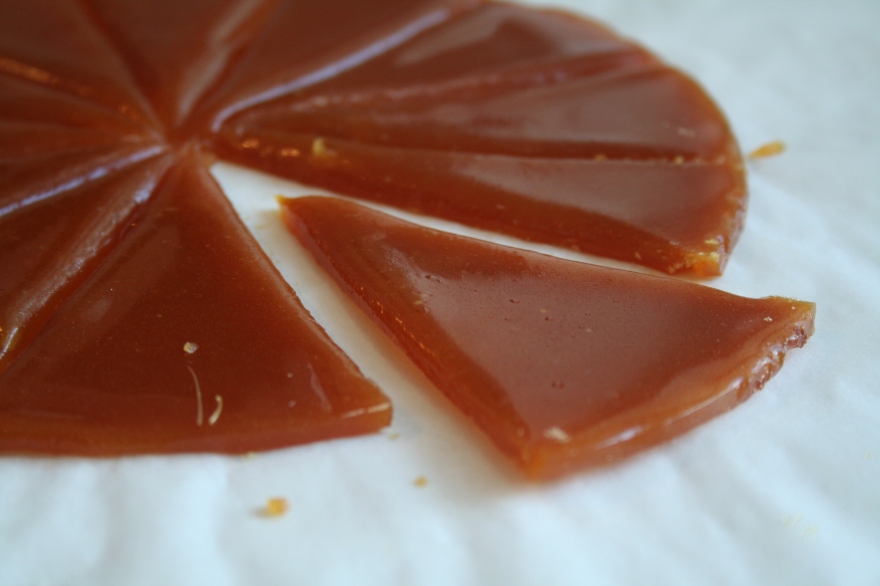
The caramel was made quite easily and quickly. Well, it could have been, but I messed it up a bit. My first attempt was burned. I decorated the cake with it before tasting it, but once I had a taste I realized it tasted to much burned, so I had to remove it from the cake and make another batch. Caramelize sugar, remove from heat and add butter and lemon juice. Seems easy enough. But this time the sugar caramelized into lumps and wouldn’t melt, so I had to sift it to get out the liquid caramel. But it came out a lot better, not rock solid, and without the taste and look of burnt sugar. I poured – eh sifted -the caramel into a springform, and cut out 12 slices. When it had cooled and set completely, I put them on top of the cake. (And since I destroyed the first caramel which was attached to a sponge cake layer, I didn’t bother to make one single layer of cake to pour the caramel over. So my top layer was all caramel.)

caramel

And it turned out looking quite good! Especially when you cut into the cake and see all the layers hiding inside. Makes you feel like a pro. Cause, as much as I love to bake, I tend to be quite lazy, I want quick results, so I avoid things that takes a little more time. Like this. But thanks to DB I get to do this too! So a big thank you for a great challenge! And of course I should add that it tasted great too. I loved the buttercream, and caramel is always good. I received many compliments for this one! My family thought it looked impressive when I placed it on the table, but they didn’t know what was hiding inside the cake. And once they cut through it and saw all the layers, they were even more impressed. So, if you’re looking to impress – this is a great option.

the torte from behind

Once again, thanks for a great challenge!

Daring bakers challenge: Bakewell tart…er…pudding

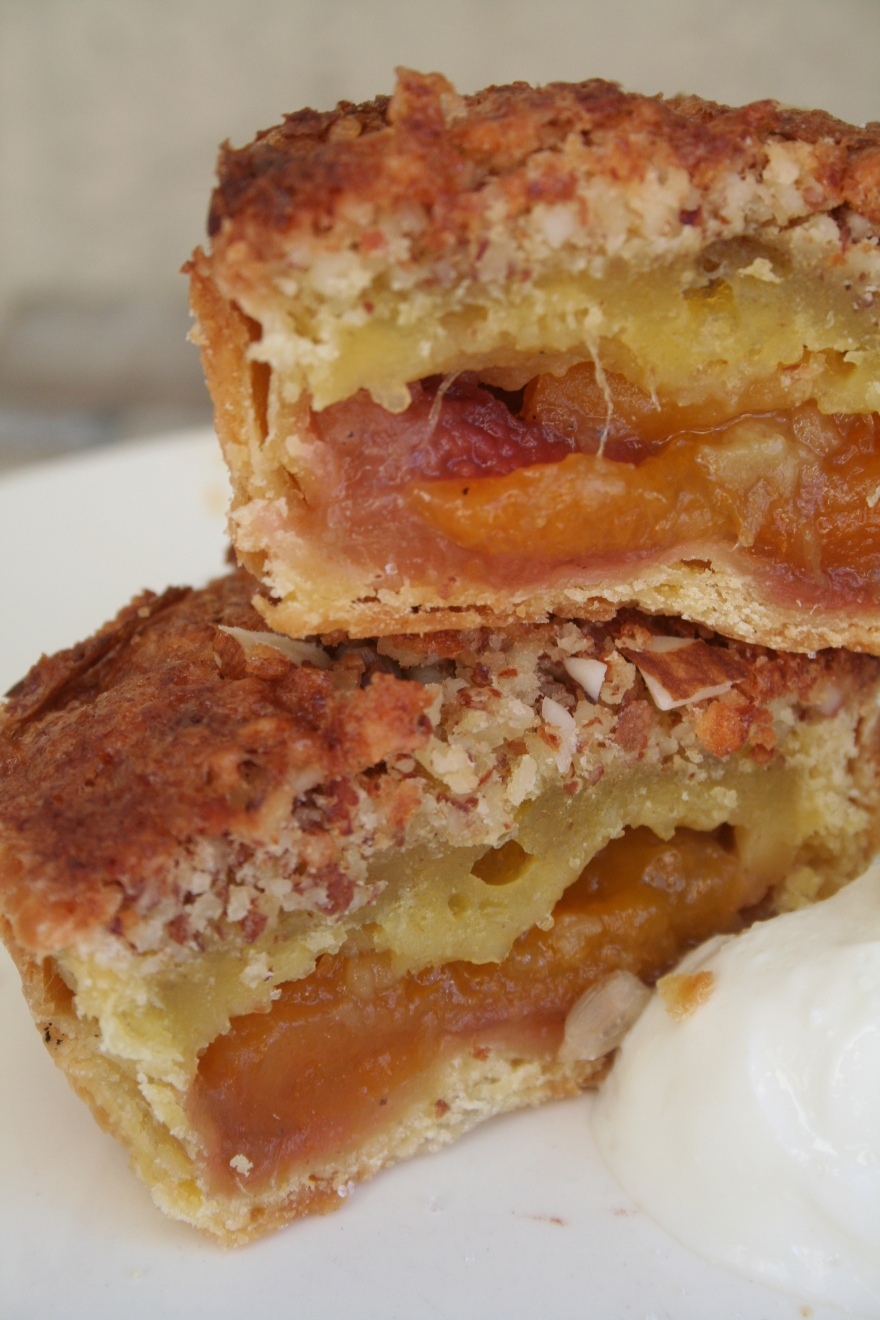
mini bakewell tarts

The June Daring Bakers’ challenge was hosted by Jasmine of Confessions of a Cardamom Addict and Annemarie of Ambrosia and Nectar. They chose a Traditional (UK) Bakewell Tart… er… pudding that was inspired by a rich baking history dating back to the 1800’s in England. Bakewell tarts…er…puddings combine a number of dessert elements but still let you show off your area’s seasonal fruits.

First of all let me tell you that this is my first Daring Bakers challenge! How exiting! I’ve been looking forward to it, and this first challenge was a real teatime treat. The actual baking was a lot easier than it first seemed. So it wasn’t a real challenge, but it was fun to make, because it’s the kind of thing that I normally wouldn’t care to bake. And that’s exactly why I joined Daring Bakers!

I usually stay away from desserts/cakes with jam, because I’m not a big jam fan, especially not when it’s in cakes. I don’t like it. Or I think I don’t like it. I think it’s the latter. But some food ideas needs to be challenged every now and then. (Thank you DB!) We all have our bad experiences with things we ate some time in early childhood that remains inedible until forced upon us, often many years later, and we realize we’ve been missing out and say “Hey, this stuff is actually good!”

I’ve never eaten jam on my bread, and I still don’t, exept if it’s homemade and is not really jam, just stirred berries and sugar. So when I saw the challenge I knew I needed to make myself some homemade jam. It’s the right season, so I could put some of that last rhubarb to use and try out a rhubarb and apricot recipe I had my eyes on. I made the sweet shortcrust pastry and jam one day, the frangipane and the assembling a few days later. But there was no need for that. I could easily have finished it in one afternoon. And so could you, so roll up your sleeves and challenge yourself with this British afternoon delight!

Bakewell tart…er…pudding

Sweet shortcrust pastry
225g all purpose flour
30g sugar
½ tsp salt
110g unsalted butter, cold (frozen is better)
2 egg yolks
½ tsp almond extract (optional)
1-2 Tbsp cold water

Sift together flour, sugar and salt. Work the butter quickly into the flour mixture, using your finger tips only, until the mixture resembles bread crumbs. Set aside. Lightly beat the egg yolks with the almond extract (if using). As I didn’t have any I left that out. Quickly mix into the flour mixture. Keep mixing while dribbling in the water, just enough to form a firm and slightly sticky dough.

Wrap the dough in cling and refrigerate for at least 30 minutes

Frangipane
125g unsalted butter, softened
125g icing sugar
3 eggs
½ tsp almond extract
125g ground almonds
30g all purpose flour

Cream butter and sugar together for about a minute or until the mixture turns lightly yellow in colour and very fluffy. Add the eggs, one at a time, beating well after each addition. The batter may appear to curdle. At least my batter did. But that’s allright, because the recipe says so! Relief… After all three are in, pour in the almond extract and mix for about another 30 seconds and scrape down the sides. Whisk in the ground nuts and the flour and mix well. The mixture will be soft and keep its slightly curdled look (mostly from the almonds) and retain its yellowish colour.

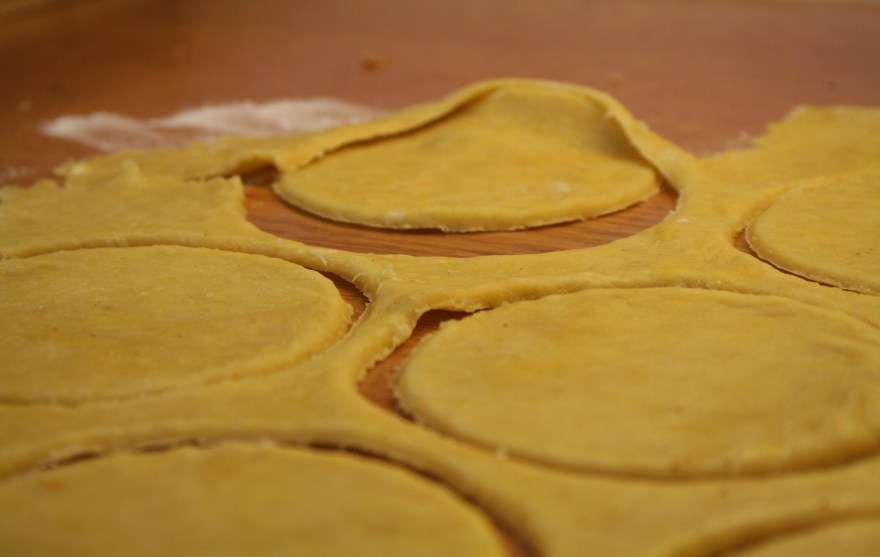
Place the chilled dough disc on a lightly floured surface. Flour the rolling pin and roll the pastry to 5mm thickness, by rolling in one direction only turning gradually after each roll. When the pastry reaches desired size and thickness, transfer it to the tart pan of muffin tray of your choice – press in and trim the excess dough. Patch where it’s needed and chill in the freezer for 15 minutes.

Rhubarb and apricot jam
150 g rhubarb
150 g dried apricots
350 g sugar
juice of 1 lemon

Chop the rhubarb and apricots into pieces
Place all the ingredients in a pan and slowly bring to the boil, stirring now and then.
Turn the heat up slight and let it bubble until jam setting point is reached but remember to stir as it does stick. Pour into hot jars and seal, if you’re not eating or using it right away!

pastry

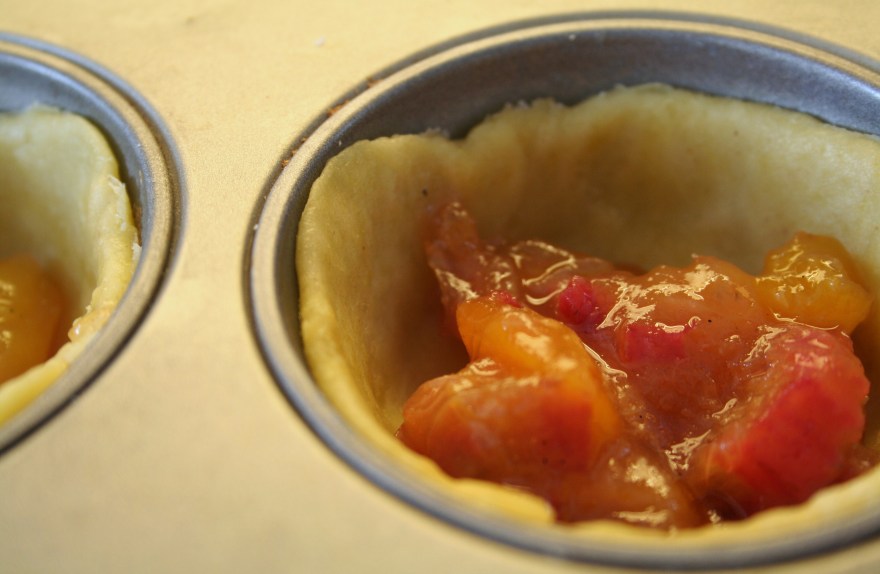
rhubarb and apricot jam filling

Preheat oven to 200C.

Remove the shell from freezer, spread as even a layer as you can of jam onto the pastry base. (If you want it to look pretty when you cut it. I made my jam with chunky bits, so the “layer”/spoonful was rather uneven)

Top with frangipane, spreading to cover the entire surface of the tart. Smooth the top and pop into the oven for 30 minutes. Five minutes before the tart is done, the top will be poofy and brownish. Remove from oven and strew flaked almonds on top and return to the heat for the last five minutes of baking.

The finished tart will have a golden crust and the frangipane will be tanned. Remove from the oven and cool. When you slice into the tart, the almond paste will be firm, but slightly squidgy and the crust should be crisp but not tough.

bakewell mini tarts

Notes and verdict:
I didn’t have room in my freezer for the pan to chill, so I just put it in the fridge. I don’t know if that’s the reason, but when I put them in the oven the butter from the pastry or the frangipane started to melt and bubble up, making a buttier crust. I also had to take them out 5 minutes earlier, because they were turning quite brown. But they were baked and tasted delicious. I ate them warm with vanilla ice cream and rhubarb syrup. Absolutely tasteful! The rhubarb and apricot blended well together with the almonds from the frangipane. Sweet. I’m already looking forward to the next challenge! Mission complete!