Ok, this is a little silly. A really long post about oatmeal and recipes on how to make it. But this isn´t so much about following the recipes, more as an inspiration, or a reminder of good oatmeal is for you, how versatile and easy it is to make, and not at least how tasty it can be!
I remember being asked what my favourite breakfast was once. If I were to choose whatever I could have, what would it be. And I immediately replied oatmeal – to the person asking´s great surprise. He was like OATMEAL???? “Seriously? Did you understand the question?”
Sure I did! Like many guys, he didn´t share my enthusiasm for oatmeal, because he, like many other, had bad experiences with oatmeal growing up. And he didn´t know how to prepare it either, either turning it into a dry mass, or too watery, almost soupy-like.
So of course, this guy probably wouldn´t prepare it anyway, since his idea of oatmeal was equal to a nastylooking and tasteless thing. Not that it´s rocket science to prepare a bowl of oatmeal, but it almost seems like it, when you can accomplish so much with so little effort! From dull to delish in an instant! You better try. You owe it to yourself to try a decent bowl of oatmeal for breakfast every now and then. And who knows, maybe you´ll be an oatmeal-convert too? I recently convinced my mum, who had a strong resistance against oatmeal due to childhood overdose.


I particularly like oatmeal for breakfast this time of year, when it´s cold outside. It´s such a comforting breakfast for cold days, warming you up so you´re prepared to leave the house!
I make my oatmeal in many different ways. Or actually, come to think about it, I don´t. But what I add to the oatmeal depends on what I have or what I´m in the mood for. And the key ingredient, which isn´t an ingredient at all, but a method, is to soak the oats overnight. I find that really makes the oatmeal a lot better. Soaking also make the oats more digestible and help your body to absorb the minerals from the oats. And, it reduces the cooking time – which is always a plus in the morning!
My toppings usually consist of some kind of fruit, some kind of nuts and something creamy: Fruity+Crunchy+Creamy. I always have roasted almonds around, because I simply cannot live without. Fruit/Berries can be whatever´s in season, or whatever you prefer, and nut butter, youghurt, applesauce can be the creamy component. But these are just suggestions, and my personal preferences, but of course any toppings and combinations can do!
Classic oatmeal for 1
I guess you don´t really need a recipe for oatmeal, but here´s a single serving of oatmeal ingredients without any add-ins or toppings:
- 1 dl oatmeal
- 2 dl milk
- salt
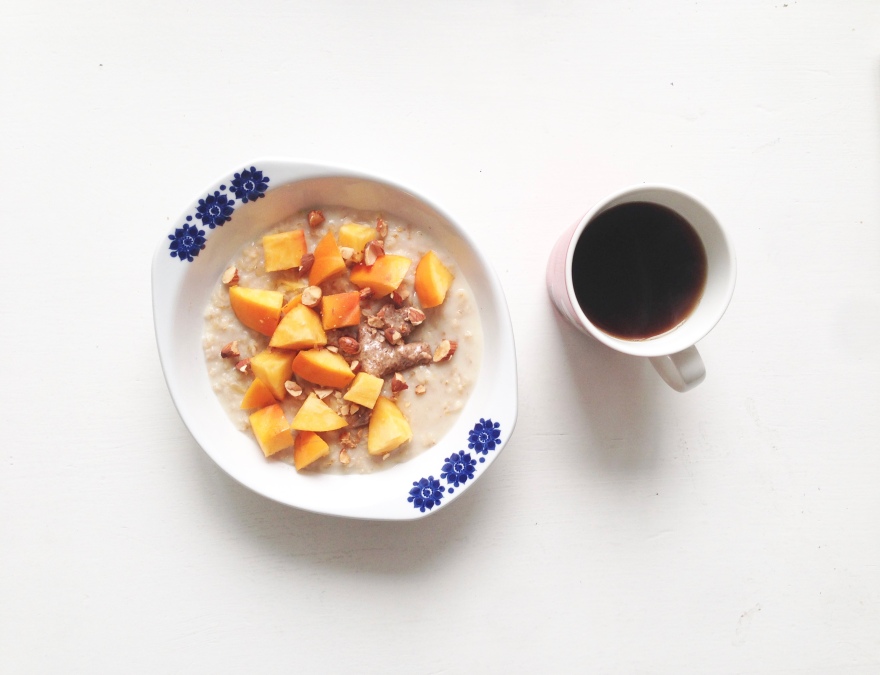
Almondy oatmeal with persimmon (and chocolate chunks)
This is my favorite at the moment. I love persimmon, and now that the season is here, I want as much of it as possible. So I included it in my bowl of breakfast oatmeal, with great success!

Toppings: 1/2 small persimmon chopped, a spoon of almond butter, roasted almonds and/or dark chocolate
Add the oats and milk to a saucepan and allow it to heat for about ten minutes, until the liquid has all been absorbed. Stir in almond butter, and serve with chopped persimmon, almonds (and/or chocolate)
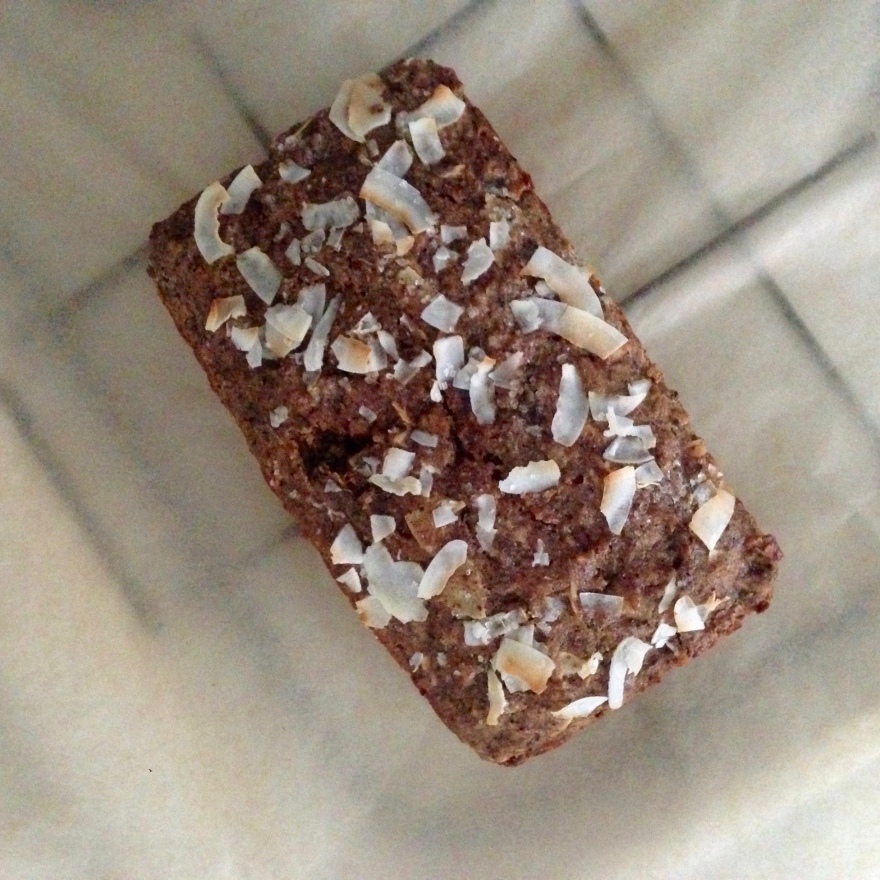
Coconut-Banana oatmeal with blueberries
- 2 dl / 1 cup of water
- 30 g / 1/3 cup of oats
- 4 tablespoons of coconut milk
- 1 tablespoon of almond butter
- 1 banana
Toppings: fresh blueberries, crushed nuts, raisins and cacao nibs or chocolate

Simply add the oats, water, coconut milk and slices of banana to a saucepan and allow it to heat for about ten minutes, until the liquid has all been absorbed. Then stir in the almond butter and coconut oil and let them dissolve into mix. Once it’s all nicely mixed pour it into a bowl, add all your favourite toppings and then it’s ready to enjoy!-berry oatmeal
Banana-berry oatmeal:
Toppings: 1/2 a banana, a handful fresh or frozen red berries of choice and a good scoop of peanut butter
Add the oats, water, milk to a saucepan and allow it to heat for about ten minutes, until the liquid has all been absorbed. Serve with chopped apple and roasted almonds, and a good dollop of dulce de leche with a sprinkle of sea salt on top, giving it a lovely luxury touch.

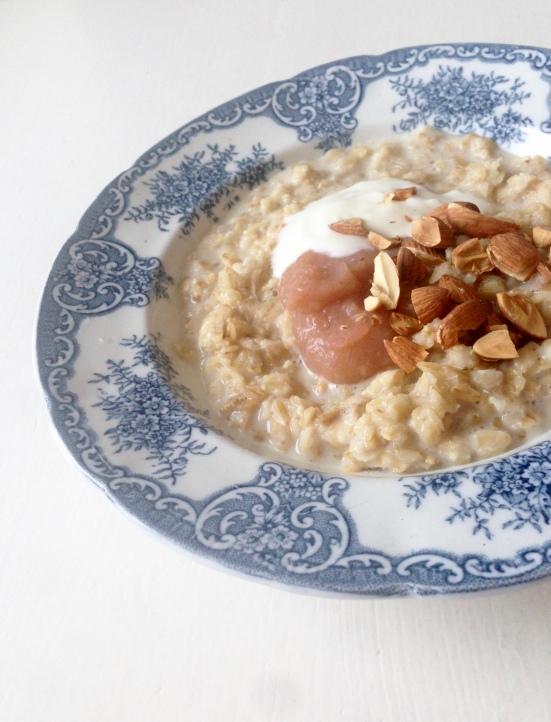
Oatmeal with apple sauce, natural/greek yoghurt and nuts
This has become another favorite lately, after I made my own very delicious applesauce of the tasty Norwegian apples in season right now. Of course bought applesauce is good too, but if you have access to good flavourful apples, it´s really worth it and easy to make your own.
Add the oats, water, milk to a saucepan and allow it to heat for about ten minutes, until the liquid has all been absorbed. Serve with a tablespoon of applesauce, youghurt and a handful of your favourite nuts or a muesli.
Caramelly oatmeal with apple and nuts
Toppings: 1/2 apple diced, 1 spoon dulce de leche and a handfuld of chopped roasted almonds
Add the oats, water, milk to a saucepan and allow it to heat for about ten minutes, until the liquid has all been absorbed. Serve with chopped apple and roasted almonds, and a good dollop of dulce de leche. I can´t really take credit for this one, but thanks to GRØD who put oatmeal in fashion and popular, this has become one of my (and their) all time favorites.